As an orchid enthusiast, I’ve come to appreciate the intricacies involved in nurturing these stunning plants. A crucial part of that care is understanding when and how to repot them – a task that rejuvenates their living environment and encourages healthy growth.
My journey through orchid care has shown me that repotting orchids requires attention to timing, the quality of potting media, and the delicate handling of the plant’s roots.
With a solid orchid repotting guide at your fingertips, and by adhering to tested orchid care tips, you can ensure the sustained beauty and vitality of your orchids.
Key Takeaways
- Timing is crucial — aim to repot orchids when they show signs of new growth, typically in the spring.
- Choose the right potting mix to replace old, decomposed media that no longer supports healthy root systems.
- Delicate handling and examination of the orchid’s roots are vital to identify and remove any parts that are unhealthy.
- Proper pot selection is important for optimum growth post-repotting, with sufficient drainage being essential.
- Post-repotting care, including appropriate watering, is key in helping your orchid adjust to its new environment effectively.
Understanding the Significance of Repotting Orchids
As an orchid enthusiast, I can’t stress enough the importance of understanding how to repot orchids. This practice is more than a routine care step; it’s a crucial intervention for their longevity and vigor.
When repotting your cherished orchids, it’s essential to remove the old, decomposed medium that could compromise the health of the roots.
This medium often lacks the necessary nutrients and airspace essential for the roots to breathe, grow, and absorb moisture effectively.
The goal is to maintain an environment that mirrors their natural habitat as much as possible. Often, orchids initially come in sphagnum moss, which, despite its benefits, can dangerously retain water and potentially lead to root rot, a common issue for orchid owners.
Monterey Pine bark, horticultural charcoal, and perlite, supports the perfect balance for orchid health
It’s imperative to switch to the best soil for orchids that ensures well-drained, yet hydrated conditions.
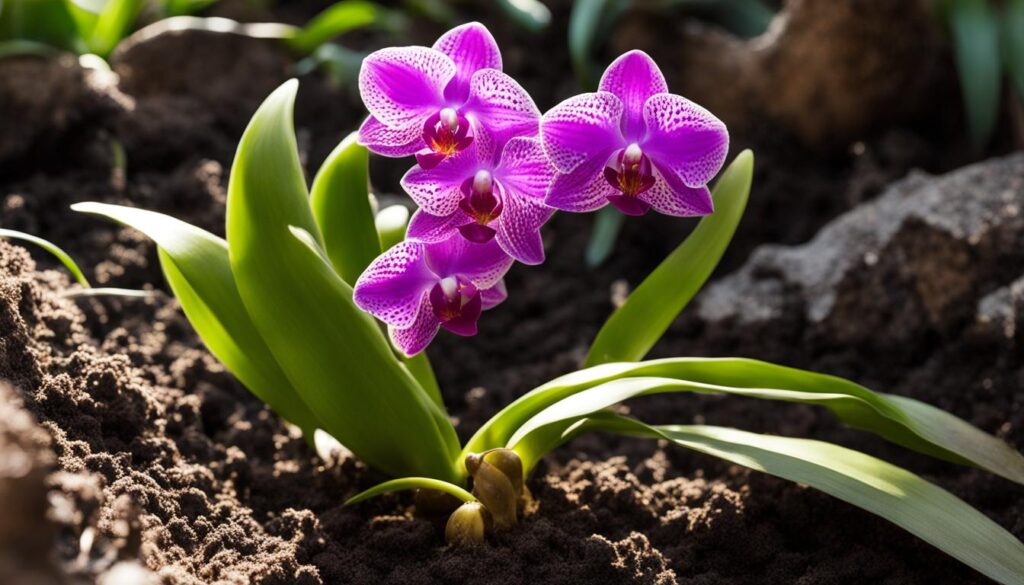
A superior blend, consisting of ingredients such as Monterey Pine bark, horticultural charcoal, and perlite, supports the perfect balance for orchid health, offering pH stability, ample aeration, and resistance to rapid decomposition.
- Monterey Pine bark promotes excellent drainage and mimics the orchid’s natural epiphytic growing conditions.
- Horticultural charcoal purifies the soil and averts the accumulation of harmful pathogens.
- Perlite increases aeration and lightens the potting mix, which is essential for healthy root growth.
When choosing the right blend for your orchids, consider the specific requirements of your plant’s species some flourishing with more moisture retention while others prefer a drier environment.
By tailoring the potting mix to your orchid’s unique needs, you’re setting the stage for a thriving life post-repotting.
Now, let’s delve deeper into the components of this ideal potting mix.
| Component | Benefits | Orchid Suitability |
|---|---|---|
| Monterey Pine Bark | Mimics natural habitat, good drainage | Best for most epiphytic orchids |
| Horticultural Charcoal | Absorbs impurities, prevents rot | Ideal for health and longevity |
| Perlite | Increases aeration, moderates moisture | Suitable for orchids requiring well-aerated soil |
Now that the optimal potting mix ingredients and their respective roles are highlighted, it becomes evident that breaking away from lower-grade mediums and moving towards a custom blend tailored for your orchids will not only enhance the health of your plants but also will invigorate your experience as a grower.
Make repotting a momentous occasion in your orchid’s life cycle – a springboard for flourishing growth and vibrant blossoms. Remember, knowing how to repot orchids with the best soil for orchids is a real game-changer in orchid care.
Identifying the Right Time to Repot Your Orchids
As an orchid enthusiast, aligning the repotting process with the natural growth cycle of your plant can lead to optimal health and flourishment.
Let’s delve into the prime signals that indicate it’s the appropriate moment to give your orchids a fresh start.
Seasonal Examining During Spring
My calendar is always marked with a reminder to inspect my orchids when spring’s warmer whispers begin.
It’s an ideal time to evaluate their state as they shake off the dormancy of winter.
This seasonal transition is often when orchids signal their readiness for a change, set in motion through new sprouts and root systems seeking expansion.
Assessing New Growth as a Repotting Signal
Watching for new growth, such as bright green root tips or shoots, plays a pivotal role in my repotting schedule.
Notably, this sign typically emerges in the spring, indicating that the orchid is prepared for repotting.
I adhere to this period as it poses minimal interference to their blooming potential.
Monitoring Potting Media Degradation
The integrity of the potting media is paramount in cultivating orchids with vigor. I routinely check for any breakdown in the substrate, akin to repotting orchids in bark, for instance.
Decomposition can compact the bark, suffocating the essential airy environment roots thrive in, akin to coffee grounds that signal it’s time for an update.
Dealing with Overgrown and Crowded Roots
My acute observation often unveils roots meandering out of their pots or forming dense tangles, both of which signal an urgent need for more space.
This overgrowth is a clear cue that the current quarters no longer suffice and that it’s time to consider repotting into a larger home.

Indeed, knowing when to repot orchids is a cornerstone of orchid care tips that I constantly refine.
Sporting a combination of observational skills and timing, one can ensure their beloved orchids receive the best soil for orchids and the space they need to continue enchanting our homes with their tropical allure.
Choosing the Correct Supplies for Orchid Repotting
As someone passionate about the vibrant world of orchids, I understand the importance of having the right tools and materials at hand when it comes to repotting.
Achieving success in the delicate process of repotting orchids in moss or bark involves more than just transferring the plant to a new pot; it requires attention to detail and the correct supplies that cater specifically to the needs of your orchid.

To embark on the task of how to repot orchids, there are several essential items that you should not overlook.
From a fresh bark mix that resists rapid degradation to tools for precise cutting, each component plays a critical role.
As someone deeply involved in orchid repotting guide practices, I can’t stress enough the importance of selecting pots that promote proper drainage, this ensures that the roots have access to their needed air circulation, preventing water stagnation and possible root rot.
- A fresh, high-quality bark mix or moss
- Sturdy pots with ample drainage holes
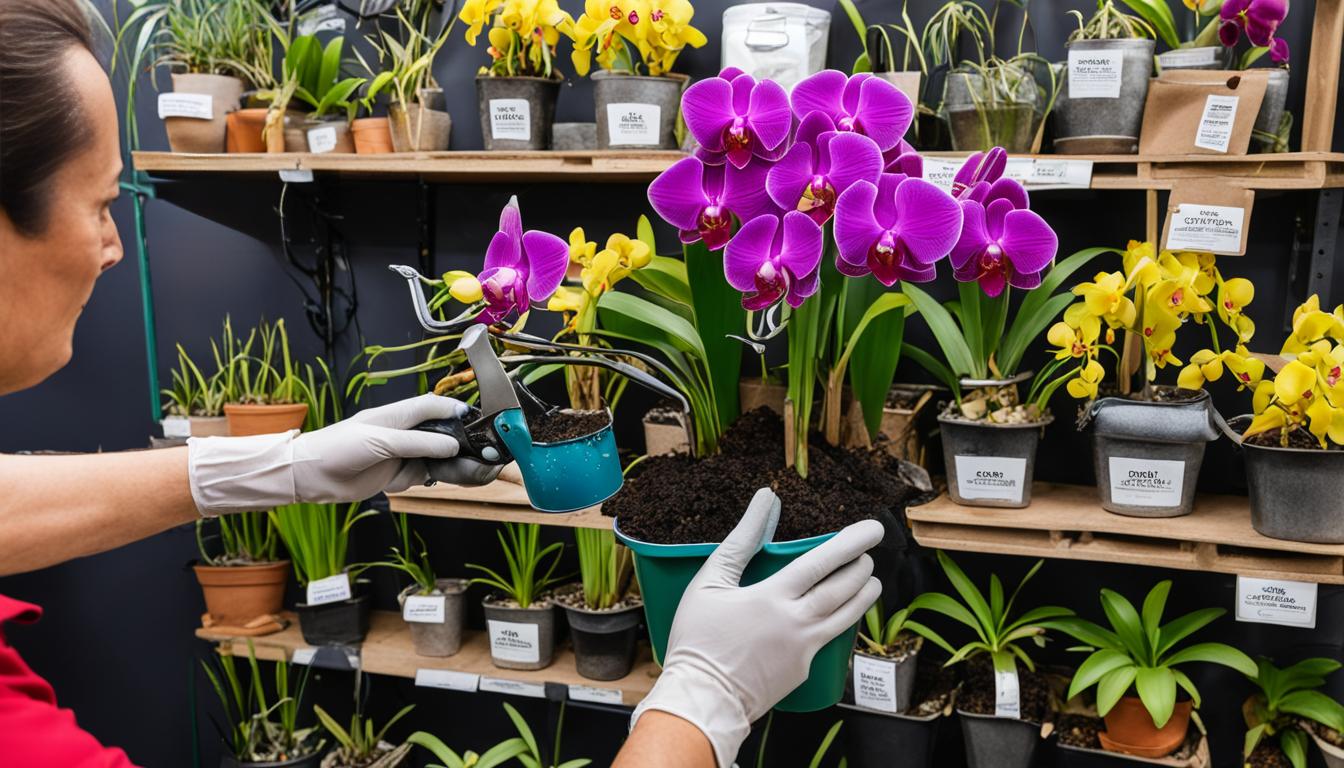
- Sterilized pruners, sharp knives, or scissors
- Gloves for handling the orchids and medium
- A dowel or blunt knife to settle the potting mix
Let’s take a detailed look at the recommended tools and materials through a comprehensive table:
| Item | Use | Tips |
|---|---|---|
| Fresh Bark Mix/Moss | Repotting medium | Choose a mix suited for your orchid’s species |
| New Pots (size up) | Home for your orchid | Ensure proper fit & drainage for the roots |
| Sterilized Pruners/Knife | Trimming roots/leaves | Always sterilize between uses to prevent disease |
| Gloves | Protection & clean handling | Wear during cutting to avoid sap irritation |
| Dowel or Blunt Knife | Settling potting mix around roots | Use gently to avoid root damage |
The right approach to orchid repotting guide practices not only rejuvenates your plant but also can elevate the beauty and longevity of these exquisite flora members.
Whether you’re repotting orchids in moss or preferring a bark-based medium, doing so with care and the right materials will certainly set your orchids up for robust growth and thriving blooms.
Repotting Orchids Step by Step
Repotting your orchids is a nurturing step that promotes healthy growth and revitalizes your beloved plants. Follow these detailed steps to ensure your orchids thrive in their new environment.
A successful repot can help extend the life of your orchids, encouraging lush blooms and robust health.
Extracting the Orchid from Its Current Pot
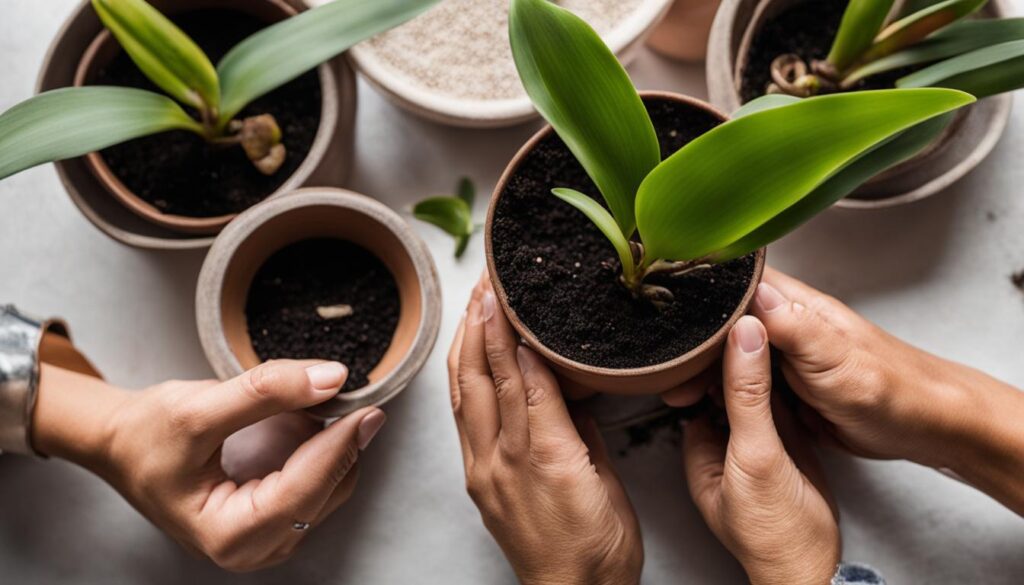
The process begins by carefully loosening the rootball. I like to massage the sides of the pot or slide a dull knife around the inside edge to gently coax the plant out without causing any stress or damage to the delicate roots.
Root Hydration and Cleaning
Once the orchid is free, I examine the roots and hydrate them if they seem dry. Briefly soaking the roots can make them more flexible and less prone to breakage during the rest of the repotting process.
Then, I rinse them thoroughly to remove any old potting medium that could block airflow in the new pot.
Trimming Roots and Preparing the Base
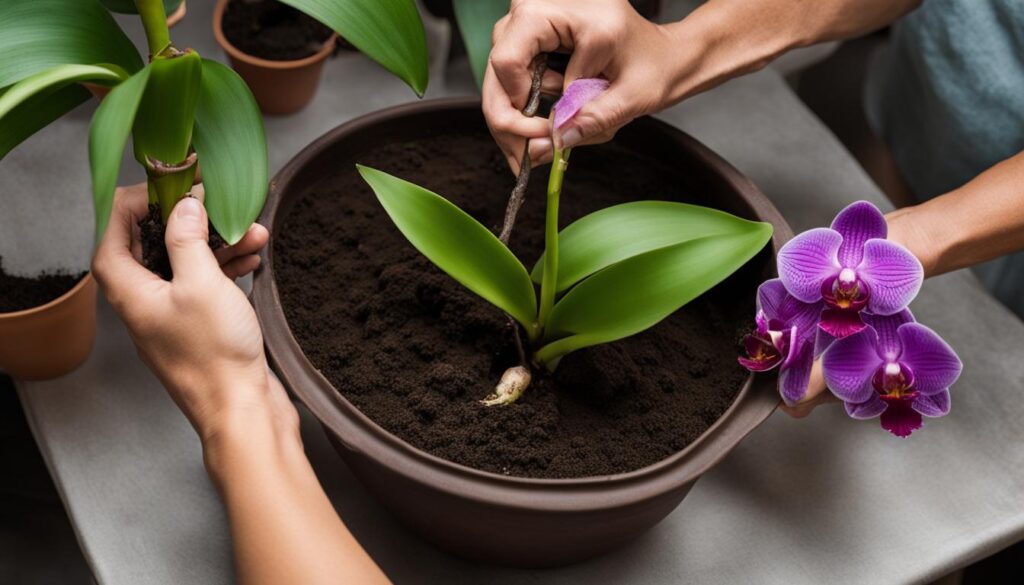
During the inspection, I snip off any unhealthy or dead roots. It’s crucial to prune cautiously, leaving only the firm, healthy roots.
These are then carefully arranged in preparation for their new home, ensuring they’re spread out and ready for the fresh medium.

Securing the Orchid in Its New Home
With the orchid positioned in the center of the new pot, I begin to fill in with the best soil for orchids, usually a high-grade medium such as orchid bark or moss.
By gently tapping a dowel on the potting mix around the roots, I encourage it to settle into the nooks and crannies, which provides stability for the orchid.
Initial Watering and Post-Repotting Care
After pressing the medium in place, it’s time for the initial watering. I water thoroughly to help the medium adhere to the roots and to remove any air pockets.
However, immediately following this, I refrain from watering for a week or two, allowing the roots to seek out moisture and establish themselves firmly in their new environment.
Following this orchid repotting guide and adhering to these orchid care tips can lead to a successful transition, whether you’re repotting orchids in bark or repotting orchids in moss.
Remember that the right time for such care is pivotal, and often advised when to repot orchids for the best outcome.
These repotting orchids step-by-step procedures will set the stage for many years of beautiful flowering.
Selecting the Ideal Pot and Potting Medium
My fellow orchid enthusiasts often ask me about the best soil for orchids, and I always emphasize the significance of both the pot and the potting medium.
Let’s dive into why these aspects are crucial for repotting orchids in bark or moss, and how choosing the correct combination can foster a thriving orchid.

Orchids yearn for a balance between snugness and space. Hence, the pot size shouldn’t exceed the necessity of the root mass. Overpotting can lead to excess moisture, detrimental to the root health.
In contrast, a pot that accommodates the roots snugly, without much free space, encourages healthy growth and robustness.
When it comes to materials, plastic and clay pots both have their place in orchid care. Plastic pots are lightweight and retain moisture longer, while clay pots, with their porosity, offer a drying effect that can be beneficial for certain orchid species.
No matter the material, adequate drainage is non-negotiable, as it ensures that excess water can escape, mitigating the risk of root rot.
- Drainage: A key factor in preventing water-logged roots.
- Size: The pot should match the rootball, not the orchid’s leaves.
- Material: Clay offers breathability, while plastic retains moisture.
Selecting the best soil for orchids often involves choosing between bark or moss. Bark provides excellent drainage and airflow, making it a favorite for many orchid varieties.
On the other hand, moss holds more moisture, which can be ideal for orchids requiring a more humid environment. Both mediums have their advantages:
| Bark Mix | Moss Mix |
|---|---|
| Enhances drainage and air circulation | Retains moisture, good for high-humidity lovers |
| Decomposes slowly, ensuring longevity | Provides even moisture distribution |
| Ideal for many epiphytic orchids | Suitable for orchids with finer root systems |
In conclusion, while repotting orchids in bark suits those that crave drier roots and more air, repotting orchids in moss caters to those that need sustained moisture.
Your choice should complement the unique needs of your orchid species and your climate conditions to pave the way for lush, healthy growth.
Repotting Orchids in Bark vs. Moss: Pros and Cons
When it comes to repotting orchids, the choice of medium can make a significant difference in the health and growth of your plants.
With options like bark and moss available, it’s important to understand the properties and advantages each brings to your orchid care routine.
In this guide, I’ll explore how each medium impacts orchid maintenance, helping you make an informed decision for your green companions.
Understanding Bark Mixes and Their Benefits
Bark is a popular choice for repotting orchids in bark, particularly mixes that include Monterey Pine bark.
This type of medium tends to offer excellent drainage and air circulation, mimicking the natural conditions in which many orchid species thrive.
Furthermore, the slow decay rate of high-quality bark mixes ensures a stable environment for longer periods, promoting robust growth with less frequent repotting needs.
The Role of Moss in Orchid Repotting
Alternatively, repotting orchids in moss, especially long-fiber sphagnum moss, is favored for its impressive moisture retention properties.
It’s particularly beneficial for species that require a more humid environment.
Nevertheless, heightened vigilance is necessary to prevent waterlogging and root rot, which can be tragic to your orchids if left unchecked.
Making the Best Choice for Your Specific Orchid Species
Understanding the natural proclivities of your orchid species is crucial. Thick-rooted varieties typically excel in coarser, bark-based mediums that afford them ample aeration.
On the other hand, species with finer root systems may find moss to be a more suitable soil, as it holds onto moisture longer.
Balancing these factors is a cornerstone of effective orchid care tips and should be a major consideration in your orchid repotting guide.

Here’s a quick reference table comparing the two mediums:
| Attribute | Bark Mix | Moss |
|---|---|---|
| Decomposition Rate | Slow | Faster |
| Moisture Retention | Low to Moderate | High |
| Air Circulation | High | Low to Moderate |
| Repotting Frequency | Less Frequent | More Frequent |
| Suitability | Thick-rooted Orchids | Fine-rooted Orchids |
| Adjustability (Additives) | Customizable | Limited |
Choosing the best soil for orchids is not a one-size-fits-all scenario; it’s about customizing to the specific needs of your plant.
By weighing the pros and cons of both bark and moss and factoring in your orchid’s preferences, you set the stage for a blooming and prosperous orchid collection. Happy repotting!
Conclusion
As a seasoned orchid enthusiast, I’ve come to appreciate that repotting orchids is less a chore and more a crucial aspect of nurturing these splendid plants.
It’s about providing them with a rejuvenating environment that fosters their continuing vigor and aesthetic appeal.
The transition to a new pot filled with a rich, well-aerated medium can be likened to moving into a spacious home – a fresh start that promises growth and vitality.
Understanding how to repot orchids is essential knowledge for any orchid keeper. The process, ideally undertaken in the spring, calls for a gentle touch and an eye for detail to avoid disturbing the delicate balance of the plant.
Utilizing my own experiences, I assure newcomers to the world of orchids that armed with the right orchid care tips, patience, and a little practice, your green thumb will thrive alongside your blossoms.
It’s deeply gratifying to see your labor translate into the lush, vibrant blooms of a well-cared-for orchid.
Finally, recognizing when to repot orchids is all about observation and timing. In essence, it’s about being attuned to the natural cycles and signals of your plants.
Whether you’re a novice or expert in the art of orchid care, remember that repotting is a key step towards a long and flourishing life for your beloved plants.
With each successful repotting, we pave the way for years of stunning floral displays, underscoring the symbiosis between grower and garden.
FAQ
How often should I repot my orchids?
Orchids should generally be repotted every two years, or when you notice that the roots are overcrowded or the potting medium has degraded. It’s also a good practice to repot newly purchased orchids to ensure they’re in a suitable medium for your growing conditions.
What is the best season for repotting orchids?
Spring is the ideal time for repotting orchids, as this is when new growth, particularly roots, tends to begin. Repotting in spring allows the plant to establish itself in its new pot before the major growth period.
How can I tell if my orchid needs to be repotted?
Signs that an orchid needs repotting include potting medium degradation (media looks decomposed, like coffee grounds), roots growing over the edge of the pot, or the presence of new root growth, indicating the plant’s readiness for a refreshed environment.
Which materials will I need for repotting my orchid?
You’ll need a fresh bark or moss potting mix suitable for orchids, a new pot that’s a size larger than the current one, clean and sterilized scissors or pruning tools, gloves, and a dowel or blunt instrument to help arrange the new medium around the roots.
What are the steps for repotting an orchid?
Start by carefully removing the orchid from its current pot, then hydrate and clean the roots. Prune away any unhealthy roots. Position the orchid in its new pot and gently add the fresh potting medium around the roots, making sure to firm it down. Finally, water the orchid well before starting a brief dry period to encourage root growth.
What kind of pot is best for an orchid?
Choose a pot that offers good drainage and is slightly larger than the root mass of the orchid. Orchids do well in snug pots that can be either plastic or clay, as long as there are enough holes for proper drainage.
Should I use bark or moss when repotting orchids?
Both bark and moss can be suitable for orchid repotting. Bark provides good aeration and drains well, while moss retains moisture and is advisable for orchids that need a more humid environment. The choice between bark or moss depends on the specific needs and root type of your orchid species.
Is it necessary to trim the orchid’s roots while repotting?
Yes, when repotting, it’s essential to trim away any dead, soft, or hollow roots. This will encourage the growth of healthy roots and prevent potential diseases from spreading in the new potting medium.
What is the best potting mix for orchids?
The best potting mix for orchids is one that drains well and provides good aeration to the roots. High-quality orchid mixes usually contain a combination of pine bark, horticultural charcoal, and perlite to achieve this balance.
Can I reuse the old potting mix when repotting my orchid?
It is recommended not to reuse the old potting mix as it may be degraded and saturated with salts from fertilizers. Always use fresh potting mix when repotting to provide the best growing conditions for your orchid.


Leave a Reply