As an avid gardener and orchid enthusiast, I’ve learned the beauty and complexity of propagating these elegant blooms. My passion lies in sharing techniques and experiences to help you foster successful orchid growth at home.
One of the most rewarding practices is mastering orchid propagation techniques, where I’ve seen firsthand the vibrancy and diversity this can add to any collection.
Here, I’ll share with you how to propagate orchids, specifically through top cutting, a method that can multiply your collection and extend the life cycle of your cherished plants.
Whether you’re looking to propagate your blooms to share with friends or are seeking ways to rejuvenate older plants, top cutting is a practice that can enhance your gardening skills.
With careful cutting and mindful aftercare, you can cultivate new plants that carry the same stunning characteristics as their parent.
Join me as I delve into the intricacies of this propagation method, ensuring that the slender stems you nurture today blossom into the magnificent orchids of tomorrow.
Key Takeaways
- Orchid top cutting is a feasible and cost-effective way to expand your orchid collection.
- Understanding your orchid type is pivotal for employing the correct propagation technique.
- The right tools, such as sterilized shears, are essential for a successful propagation process.
- Precise cutting and care post-propagation play a critical role in the health of new orchid growth.
- Patience and a controlled environment are key to ensuring your orchid cuttings take root and thrive.
Understanding Orchid Propagation
Orchid propagation is an art form in itself, and understanding the nuances of each variety is the key to success. I recognize that the methods I employ depend considerably on the species.
For instance, monopodial orchids like the graceful Phalaenopsis and the towering Vanda are ideally propagated through stem cuttings. This particular process, often known as “top cutting,” allows for the creation of new plants from a mature parent stem.
Conversely, the sympodial orchids, which include varieties such as the spectacular Dendrobium, favor a propagation method involving divisions, back bulbs, or the adorable keikis that emerge along their stems. When I apply orchid-cutting tips to these, I ensure that the plants receive the precise attention they need to thrive after propagation.
Understanding and implementing the best method to root orchid cuttings means paying close attention to the development stage of the mother plant.
For successful propagation, especially for monopodial types, it is paramount that the plant’s stem is not only mature but well-established. This forms the foundation for a robust new orchid to emerge.
| Orchid Type | Preferred Propagation Method |
|---|---|
| Monopodial Orchids (e.g., Phalaenopsis, Vanda) | Top Cutting/Stem Cuttings |
| Sympodial Orchids (e.g., Dendrobium) | Divisions, Back Bulbs, Keikis |
My personal journey of orchid propagation step by step has taught me that patience and persistence are virtues.
The specifics of when and how to cut, where to place the developing plant, and the conditions it requires to root and grow, all play critical roles in cultivating these stunning works of natural art.
Preparing for Successful Orchid Top Cutting
Embarking on the journey of growing orchids from cuttings requires meticulous preparation and the right set of tools.
Ensuring you have everything in place before beginning the propagation process can significantly increase your chances of successful orchid-cutting propagation.
The Right Tools for the Job
To start, you’ll need to arm yourself with sterilized pruning shears for the precise cutting of your orchids. I make it a point to sterilize my tools with isopropyl alcohol beforehand to eliminate any risk of disease or pests.
Additionally, having an assortment of orchid planters or hangers on hand is essential for the subsequent nurturing phase after the top cutting has been made.
Choosing the Best Orchids for Cutting
When I select orchids for propagation, I look for mature specimens with robust stems, particularly among monopodial varieties like the popular Phalaenopsis and Vanda. This strength is crucial as it will be supporting both the flowering portion and the root development area during orchid top cutting.
Disinfecting Equipment to Prevent Disease
The significance of orchid-cutting care cannot be overstated, and it begins with the cleanliness of your equipment. Before making any cuts, thorough sterilization of your pruning shears and other tools ensures the health of the orchid and a seamless transition into the growth stage.

A clear understanding of how to propagate orchids effectively can make all the difference. Here is my checklist for preparing to propagate orchids:
- Clean pruning shears with alcohol
- Gather various-sized planters for different orchid cuts
- Ensure a sterile environment to avoid contamination
To put these preparations into perspective, here’s a table detailing the tools required and their purpose:
| Tool | Purpose | Preparation Steps |
|---|---|---|
| Pruning Shears | Cutting orchid stems | Sterilize with rubbing alcohol |
| Planters and Hangers | Supporting cuttings post-propagation | Choose appropriate sizes and materials |
| Sterilizing Agent (Alcohol) | Disinfecting tools | Apply to all cutting surfaces |
To all aspiring gardeners and orchid enthusiasts, following these preliminary steps is key to a thriving, flourishing orchid collection grown from your very own cuttings.
Orchid Top Cutting Step-by-Step
Embarking on an orchid propagation journey requires meticulous care and the right strategy.
Orchid propagation step by step isn’t just about snipping and planting; it’s a finely tuned art form. From selecting a robust orchid to applying a nurturing solution, each measure carefully sets the stage for a new generation of blooms.
Let me walk you through the compelling dance of orchid top cutting, a transformative process that promises lush, vibrant offspring from your cherished plant.
- Begin by cleaning and sterilizing your cutting tools to prevent the spread of disease.
- Identify a mature stem on your orchid, one that exhibits stellar health and vigor.
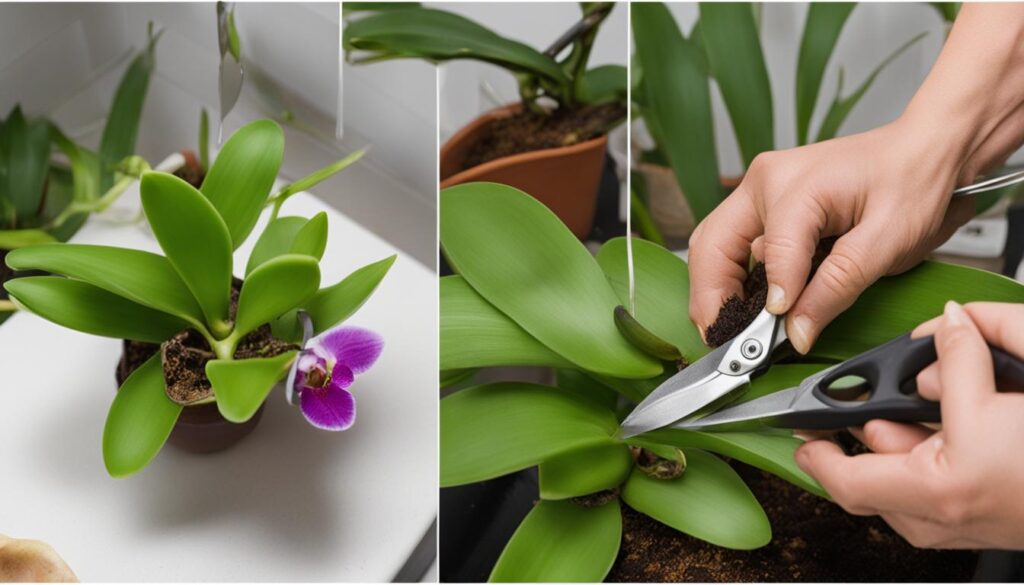
- Make a precise cut above a node, ensuring that the top portion has at least two to three nodes of its own.
- Use a candle solution on the cut ends to safeguard against potential pathogens and promote healing.
- Prepare ginger water, crafted from steeped fresh ginger, which acts as a natural booster for root growth.
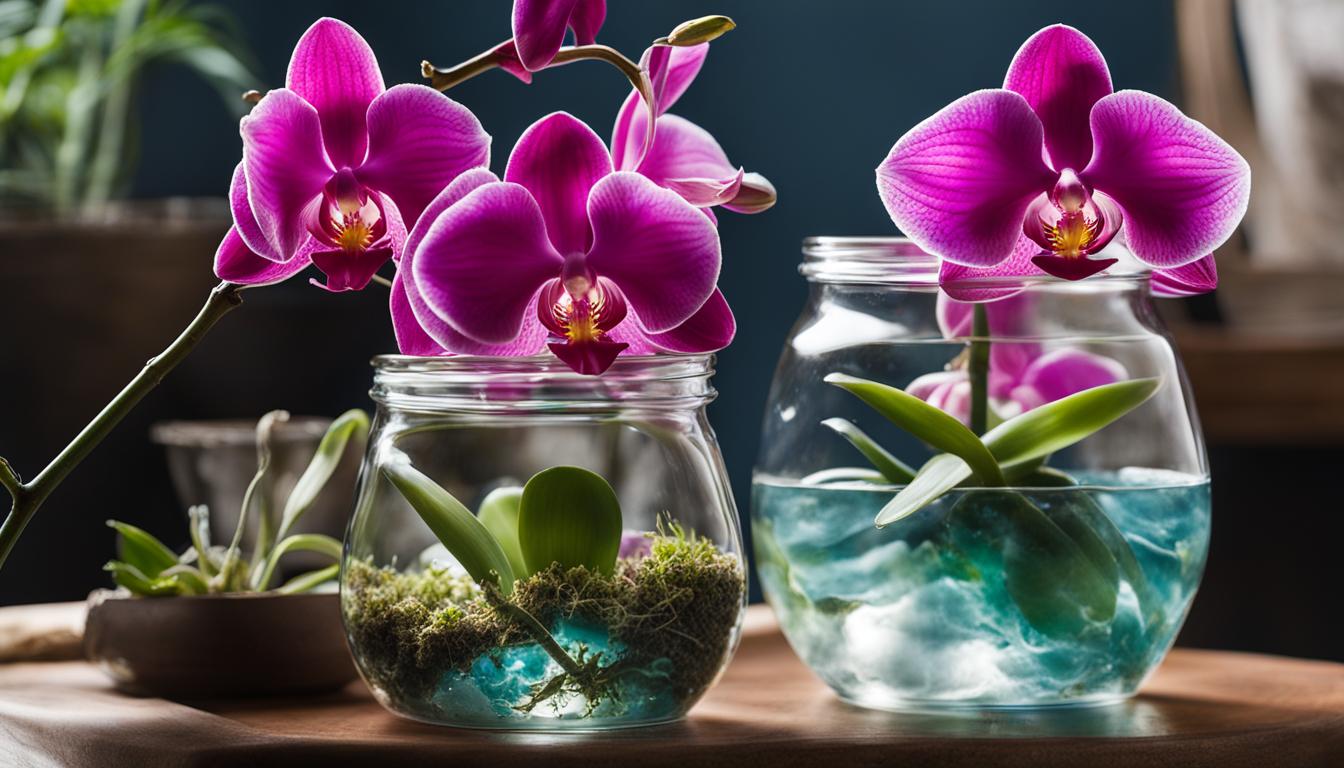
- Initiate the rooting process by soaking the orchid top cutting and sphagnum moss in the ginger water concoction.
- Plant your orchid cutting at a height in fresh media, taking care to keep it above the pot’s edge to avert rot.
- Construct a miniature greenhouse complete with ventilation to control humidity and enable a budding ecosystem.

Implementing orchid-cutting tips such as these doesn’t just spawn new life; it extends the verdant legacy of your orchid repertoire. Witness your efforts come to fruition, transforming each cutting into a beacon of growth and allure.
And as you tend to the delicate sprouts, remember, that each step you’ve mastered is an echo of nature’s resilient cycle and the enchanting spell of creation within your grasp.
| Step | Materials Needed | Action | Expected Result |
|---|---|---|---|
| 1 | Sterilized Cutting Tools | Sterilize and prepare your tools | Minimize risk of disease |
| 2 | Mature Orchid Stem | Select and cut the stem | A prepared specimen for propagation |
| 3 | Candle Solution | Apply the solution to cut ends | Protect cuttings from bacteria and fungi |
| 4 | Ginger and Water | Create ginger water for soaking | Natural enhancement of root growth |
| 5 | Orchid Pot and Media | Plant the cutting correctly | Stable base for new growth, preventing rot |
| 6 | Mini Greenhouse Materials | Construct a controlled environment | Encourage steady, healthy development |
As I guide you along the peaks and valleys of how to propagate orchids, I trust you’ll find the endeavor as rewarding as I do.
Each blossom that emerges stands as a testament to your dedication, honoring the original plant while signifying the dawn of a new floral chapter.
Caring for Your Orchid Cuttings
Embarking on the journey of growing orchids from cuttings can be incredibly rewarding. After successfully executing an orchid top cutting, you’ve taken the first step toward propagation.
However, your attention to the cuttings is crucial during this phase to ensure successful orchid-cutting propagation. Let’s focus on the essential care practices that will take your cuttings from vulnerable beginnings to thriving orchids.
Maintaining Humidity and Temperature
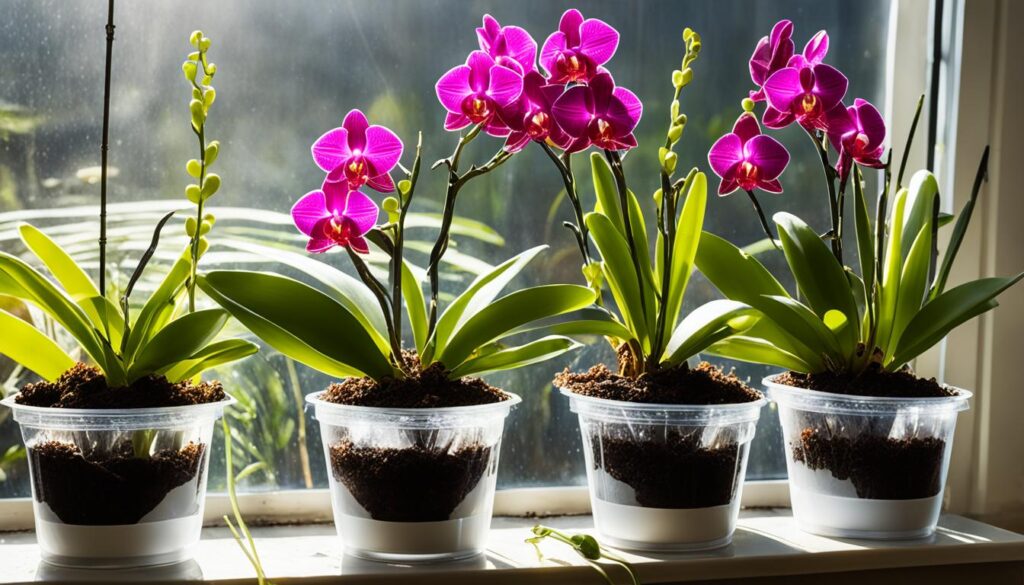
A stable environment is paramount after the propagation process begins. I use miniature greenhouses, which are excellent for keeping humidity and temperature constant, creating the ideal atmosphere for orchid-cutting care. These controlled conditions mimic the natural habitat of orchids, promoting a healthy root system.
To construct a suitable microclimate housing for your cuttings:
- Place the cuttings in an enclosed space such as a clear plastic tote or under a glass cloche.
- Ensure there is some form of ventilation to prevent excessive moisture buildup, which can lead to fungal issues.
- Monitor the temperature regularly, keeping the environment warm but not hot to mimic the tropical conditions that orchids love.
Watering Techniques for Optimal Root Growth
Proper watering is vital in nurturing the bout of roots in your young orchids. I found that watering with ginger water once a week aids significantly in stimulating root development. It’s best to avoid direct sunlight, as this can dry out the cuttings and burn delicate new leaves. Instead, provide bright, indirect light to nurture growth. Here’s how you can perfect your watering routine:
- Use a watering can with a long spout to control the flow and prevent overwatering.
- Soak the sphagnum moss or potting medium before letting excess water drain, ensuring the roots receive adequate moisture without waterlogging.
- Mist the foliage with water to keep the humidity levels around the cuttings elevated.
When to Transplant to a Permanent Home
After a while, you’ll notice your orchid cuttings presenting new, robust roots, a sure sign they’re ready for their forever homes.
Transplanting takes careful consideration, and here are my recommendations for when to take this next important step:
- Wait until the roots are at least an inch long for ample support in new soil.
- Choose a pot with sufficient drainage to prevent root rot. This is a fundamental aspect of caring for orchid cuttings.
- During transplanting, position the orchid in the pot so that the roots are above its rim, fostering healthy growth and air circulation.
Keep in mind that orchid roots are prone to rot if kept too damp, so positioning them correctly in the pot is crucial for healthy development beyond the cutting stage.

Orchid Top Cutting for Different Species
Understanding the nuances of orchid top cutting is essential for anyone looking to master how to propagate orchids. As each species has its own set of requirements, employing the right orchid propagation techniques is the key to successful growth.
Monopodial orchids, such as the well-loved Phalaenopsis, thrive through top cutting, while sympodial varieties often require different methods like division or the separation of keikis.

Below is a helpful table that compares the propagation methods suitable for different types of orchids:
| Orchid Type | Propagation Method | Notes |
|---|---|---|
| Phalaenopsis (Monopodial) | Top Cutting | Ideal for mature plants with a healthy stem; requires careful cutting above a node. |
| Dendrobium (Sympodial) | Keikis / Division | Propagation through keikis or division of pseudobulbs with adequate growth. |
| Cymbidium (Sympodial) | Division | Best performed post-flowering when the plant is large enough to divide. |
| Vanda (Monopodial) | Top Cutting | Requires higher humidity and regular misting post-cut for effective rooting. |
As an orchid enthusiast, I highly recommend closely observing your orchids’ growth habits and patterns before attempting propagation.
In doing so, you’ll be equipped with the knowledge needed to provide the right conditions and care, specific to each unique orchid species in your collection.
Conclusion
As I’ve endeavored to share my experience with orchid top cutting, it’s evident that this approach can be highly effective when seeking to propagate and diversify your collection of these beautiful plants.
Mastering orchid propagation techniques involves more than just a sharp pair of shears; it’s about a deep understanding of each species’ needs and providing the meticulous care they require to thrive post-propagation.
For those passionate about orchids, learning the best method to root orchid cuttings, and successfully executing orchid cutting propagation, offers a both challenging and rewarding gardening adventure.
Summarizing Orchid Propagation Success
The journey toward successful orchid-cutting propagation largely hinges on precision and patience. Employing the right orchid-cutting tips and understanding how to propagate orchids can make a significant impact on the vitality of your plants.
After meticulously preparing and performing top cuttings, the sights of new roots and shoots serve as a testament to the care invested in these exquisite blooms.
Troubleshooting Common Issues with Orchid Cuttings
Even with the best orchid-cutting care, challenges such as disease transmission or environmental stressors can arise, potentially hampering the success rate of propagation.
Addressing these common issues promptly, through measures like sterilizing equipment or adjusting humidity levels, can help safeguard the delicate cuttings against setbacks.
Caring for orchid cuttings goes beyond the immediate steps after severance, vigilance in every stage is key to healthy development.
Continuing Care After Propagation
After propagation, my commitment to the orchids doesn’t cease. It transitions into a stage of continuous nurturing, monitoring, and adjusting to maintain optimal growth conditions.
With proper post-cut orchid cutting care, these elegant plants stand a strong chance of flourishing. It’s through this attentive care and an intimate relationship with each plant that my orchid garden remains robust, diverse, and perpetually in bloom.
FAQ
What are some effective orchid propagation techniques?
Orchid propagation techniques vary depending on the type of orchid. Some common methods include top cutting for monopodial orchids, division for sympodial orchids, growing from keikis, and using back bulbs. Each method requires specific conditions and care to be successful.
How do I propagate orchids using top cutting?
To propagate orchids by top cutting, you need a mature monopodial orchid. Cut the top part of the plant that includes the leaves and, ideally, a dormant bud. Plant this section in moist sphagnum moss and maintain the appropriate humidity and temperature to encourage root development.
Can you provide tips for successful orchid growth at home after propagation?
After propagation, ensure that your orchid cuttings have enough light, but not direct sunlight, and consistent humidity. Water sparingly but regularly with water or ginger water to promote root growth. Be patient, as orchids can take some time to establish and grow.
What is the best method to root orchid cuttings?
The best method for rooting orchid cuttings is to plant them in moist sphagnum moss or a similar medium and provide high humidity and indirect light. Rooting hormone can be used to encourage root development, and the cuttings should be kept in a stable environment to prevent stress.
What tools do I need to start growing orchids from cuttings?
You will need disinfected pruning shears, fresh sphagnum moss or a suitable planting medium, pots or containers with adequate drainage, rooting hormone (optional), and a way to create a humid environment, such as a plastic cover or a miniature greenhouse.
How do I care for my orchid cuttings post-propagation?
Caring for orchid cuttings involves ensuring they have the right amount of light, humidity, and water. Avoid direct sunlight and keep them in a bright but diffused light location. Water the cuttings with ginger water once a week and mist regularly to maintain high humidity.
When is the right time to transplant orchid cuttings to a permanent home?
The right time to transplant orchid cuttings is when they have established a sufficient root system, which can usually be seen through the transparent walls of the planting container or when the roots are several inches long. This can take several weeks to a few months depending on the orchid variety.
How can I prevent disease when cutting orchids for propagation?
Prevent disease by thoroughly disinfecting your cutting tools with rubbing alcohol or a similar disinfectant before cutting. Also, avoid cross-contaminating between plants and always use fresh, sterile planting mediums.
What are the common issues during orchid propagation and how can I troubleshoot them?
Common issues include rot, fungal infections, and failure to root. To mitigate these issues, ensure you make a clean cut, use sterile equipment, provide the right environmental conditions, and be vigilant about checking for signs of distress in your plants.
How does orchid top cutting differ among species?
Orchid top cutting is generally used for monopodial orchids like Phalaenopsis and Vanda. For sympodial orchids like Dendrobium, propagation methods such as division or using keikis are often more appropriate. Each species has specific requirements for successful propagation.
What should I do to continue caring for my orchid after propagation?
After propagation, continue to provide the right balance of lighting, watering, and humidity. Gradually acclimate your orchid to its permanent home and monitor for any signs of growth or distress. Fertilize lightly during the growing season to encourage healthy development.


Leave a Reply