Did you know that some orchid species can bloom for up to six months at a time?
Often perceived as capricious beauties, these elegant plants are not as delicate as some might think.
With the right conditions, your indoor orchid companion could witness season changes alongside you for up to 15 years, perhaps more.
Discovering the best way to keep an orchid alive is not just about persistent care, but about diving deep into the world of orchid care tips.
Whether I’m coaxing a Phalaenopsis back to life or ensuring my garden variety receives just the right amount of sunlight, my passion for keeping orchids alive lies in striking that delicate balance between nurture and nature.
As we set forth on this journey together, consider me your guide in unlocking the secrets of orchid vitality.
It’s time to transition from merely admiring their exotic allure to actively cultivating their long-lasting splendor.
Key Takeaways
- Longevity of orchids can greatly benefit from understanding their individual needs.
- Phalaenopsis orchids are a fantastic starting point for beginners due to their adaptability.
- Providing the proper balance of water, light, and soil is critical for keeping orchids alive.
- Knowing when and how to fertilize is paramount for orchid health and continual blooming.
- With proper care, orchids can become long-term, vibrant fixtures in your home or garden.
Understanding Orchid Basics
Embarking on the journey of cultivating orchids starts with a fundamental step – identifying your orchid type.
In particular, the Phalaenopsis orchid, heralded for its adaptability in the home environment, serves as an ideal starting point for novices and enthusiasts alike.
As with any plant, understanding the unique characteristics of your orchid will guide you towards providing optimal care.
Identifying Your Orchid Type
Successful orchid care stems from identifying orchids accurately. Each species thrives under slightly different conditions, but knowing the hallmarks of a Phalaenopsis orchid, such as its broad, mottled leaves and the arching sprays of flowers, can reassure you that you’re on the right path.
Identifying your orchid allows you to tailor care routines to fit its specific requirements.
The Importance of Bright, Indirect Light
Grasping the intricacies of orchid sunlight requirements is essential for their prosperity.
Orchids luxuriate in bright, but not direct, sunlight; it’s the kind they would receive dappled through a forest canopy.
Placing your orchid near an east- or west-facing window will bathe it in the serene morning or evening light it naturally desires, which makes all the difference in promoting robust growth and vibrant blooms.
Ideal Temperature Ranges for Orchids
The comfort of your orchid relies heavily on maintaining orchid temperature tolerance.
Emulating the warm, tropical origins of the Phalaenopsis orchid, the ideal temperature range for these plants lies cozily between 70°F to 80°F (21°C to 27°C) during the day, dipping no lower than 60°F (15°C) at night. Beware of deviations: wandering outside these boundaries can result in dropped buds and lackluster growth.
| Orchid Type | Preferred Daytime Temperature | Preferred Nighttime Temperature |
|---|---|---|
| Phalaenopsis | 70°F – 80°F (21°C – 27°C) | Above 60°F (15°C) |
| Cattleya | 65°F – 75°F (18°C – 24°C) | 55°F – 65°F (13°C – 18°C) |
| Oncidium | 75°F – 85°F (24°C – 29°C) | 60°F – 65°F (15°C – 18°C) |
| Dendrobium | 65°F – 75°F (18°C – 24°C) | 50°F – 60°F (10°C – 15°C) |
Comprehensive Indoor Orchid Care
Optimizing the conditions for your indoor orchids involves more than just remembering to water them.
It’s about creating an environment where they can thrive, just like in their natural habitats.
Let’s delve into some essentials of indoor orchid care that will help your enchanting blooms flourish.
Watering Essentials: Frequency and Technique
Mastering the orchid watering guide is paramount. Generally, watering your orchids once a week with lukewarm water does the trick.
However, the goal is to mimic rainfall, which means soaking the roots and allowing the excess to drain.
This is vital in preventing root rot and ensuring your orchid’s health.
Optimal Lighting Conditions
Orchids bask in bright, but not direct, sunlight. Finding a spot in your home that offers indirect light will encourage your orchids to grow vigorously, without the risk of sunburned leaves.
Aim for a balance that avoids the two extremes: too little light hampers growth, and too much can damage the plant.
The Best Soil Mixtures for Indoor Orchids
When it comes to the best soil for orchids, think beyond traditional potting soil.
Orchids require a special mix for adequate drainage and aeration, a blend that often incorporates bark, charcoal, and perlite.
This ensures a proper foundation for your orchids, akin to their natural, tree-hugging habits in the wild.
Fertilizing Your Orchid: When and How
Fertilizing orchids isn’t about quantity but rather the right timing and formula. During their growth phase, a monthly application of orchid-specific fertilizer can work wonders.
Remember, over-fertilizing can cause more harm than good, potentially leading to a lack of blooms and even damaging the plant.
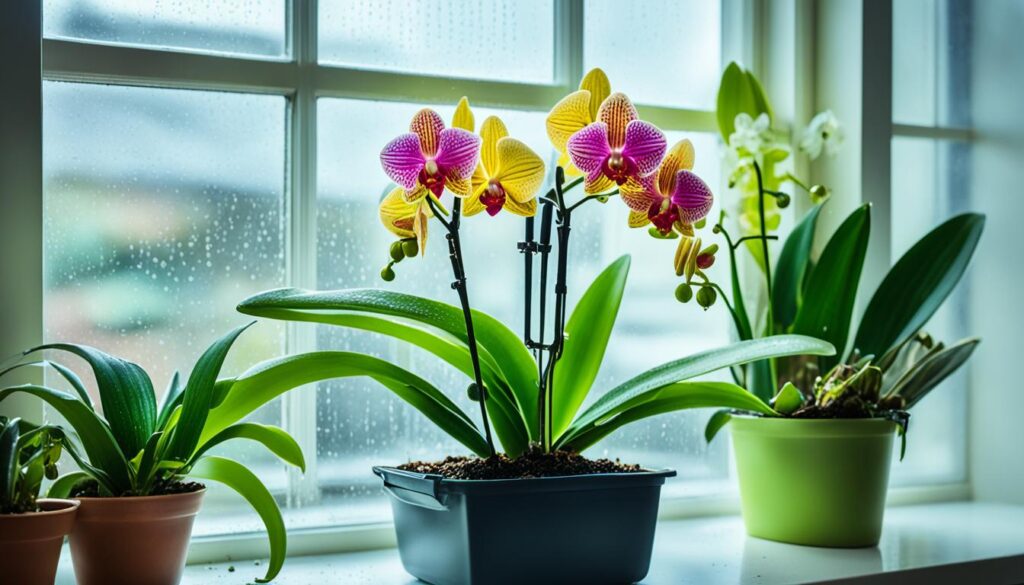
| Care Aspect | Details | Schedule/Timing |
|---|---|---|
| Watering | Use tepid water, thoroughly saturate soil mix and roots. | Once a week |
| Lighting | Bright, indirect sunlight is ideal. | Throughout the day |
| Soil Mixture | Aeration is key: Mixes contain bark, perlite, and charcoal. | Repot every 1-2 years |
| Fertilizing | Use fertilizers formulated for orchids, balanced NPK ratio. | Once a month during active growth |
Outdoor Orchid Mastery
When I decide to take my passion for orchid care into the open air, I am often reminded that the best way to keep an orchid alive is not only about maintaining a routine but about adapting to new environments.
Outdoor orchid care offers an exciting challenge that involves monitoring orchid humidity levels and making smart adjustments to accommodate the whims of Mother Nature.
Adapting Care for Outdoor Environments
Transplanting my orchids outdoors begins with finding a shaded sanctuary that guards against the harsh midday sun and abrupt changes in the weather.
I’ve learned that my orchids crave humidity and benefit greatly from the communal microclimate created by positioning them among other leafy companions.
Another key element to outdoor orchid success is consistent watering – although I remain mindful of rainfall patterns to prevent overwatering.
Proper fertilization does not take a backseat; I continue to feed my orchids as I would indoors, adjusting only for the faster growth rate I often witness outside.
Importantly, I always ensure the planting mix retains adequate moisture without becoming waterlogged.
In my experience, fostering the right humidity levels is paramount to avoid undue stress on my orchids, ensuring they flourish in their new environment.
To help illustrate these outdoor care necessities, here’s a table that succinctly captures the primary elements I consider:
| Care Aspect | Indoor Orchids | Outdoor Orchids |
|---|---|---|
| Light Exposure | Bright, indirect light from windows | Partial shade with dappled sunlight |
| Watering Frequency | Once a week, depending on humidity | Adjusted for rainfall; more frequent in dry conditions |
| Humidity Levels | Humidity trays or indoor misting setups | Natural humidity; grouping with plants helps |
| Fertilization Routine | Monthly with orchid-specific fertilizer | Continue monthly; watch for nutrient-rich growth spurts |
| Soil Moisture | Moist but not soggy, allowing for air | Monitor more closely; prevent water stagnation |
Lastly, as I look at my outdoor orchids, thriving among nature’s own lush foliage, I can’t emphasize enough the criticalness of monitoring and adjusting plant care.
It’s an ongoing journey that guarantees the robust health and vibrant blooms that make orchid enthusiasts like myself truly proud.
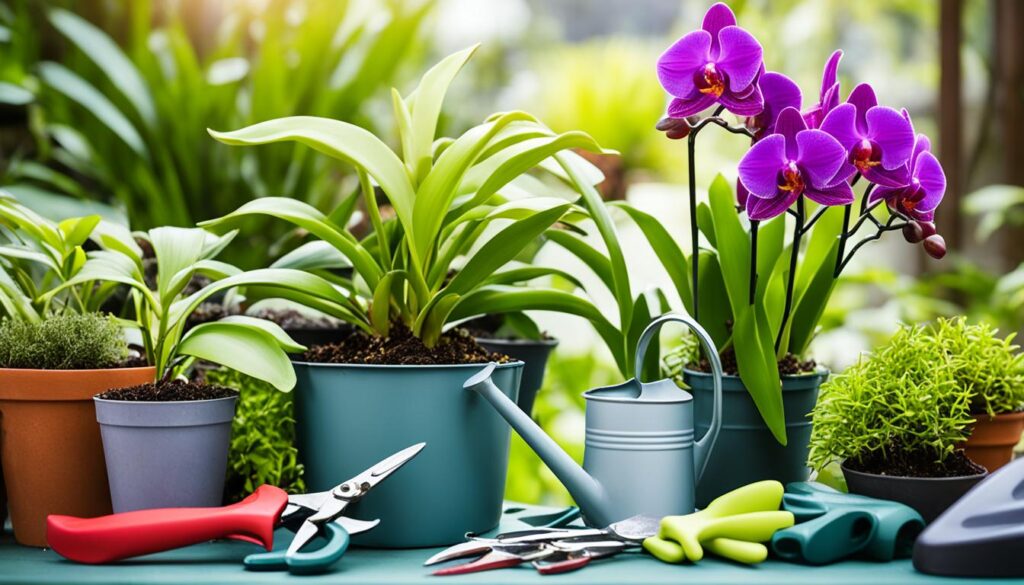
Post-Bloom Orchid Care
Once the exquisite blooms have faded, your journey with orchid care diverges slightly.
For seasoned and beginner enthusiasts alike, understanding the necessary steps in maintaining orchids post-flower is essential.
This phase is critical not just for sustaining the plant’s health but also for setting the stage for future flowering cycles.
Managing Spent Blooms
After your orchid’s flowers have wilted, there are two paths you can take. If the flower spike (stem) is still green and healthy, you might opt to leave it be, as new blossoms could potentially emerge.
Conversely, if the spike has begun to brown and harden, it’s an indication that cutting it back could be your best move. Here’s how I approach this decision:
- Inspect the color and firmness of the orchid’s stalk.
- If green and lush, consider trimming just above a visible ‘eye’—a node on the stem.
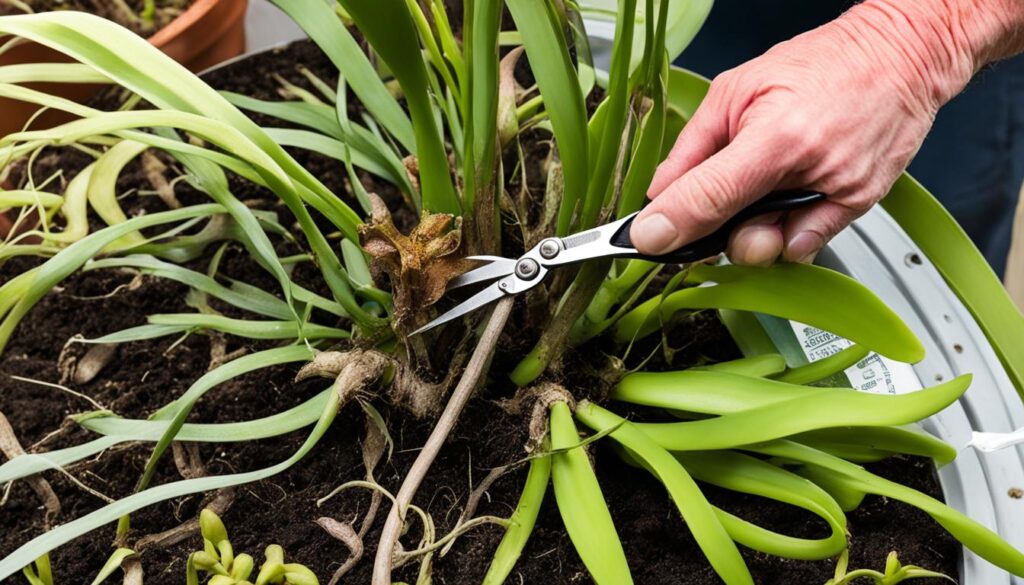
- If brown and brittle, use sterilized shears to cut near the base, but not too close to the leaves.
This post-flower care for orchids redirects energy back to the plant, supporting overall vitality and leading to more robust growth in the long term.
Adjusting Care After Blooming
Even after blossoms have come and gone, the core orchid care tips remain.
Week to week, your mission is to furnish your orchid with sufficient water, light, and the right temperature, a symphony of conditions to maintain its luscious green foliage and strong root system.
However, reflecting on the depletion of resources during blooming, I give my orchids some extra TLC:
- Regularly check for any signs of stress or pest issues exacerbated by the blooming process.
- Partially shade the plant to prevent leaf burn as it recovers.
- Scale back slightly on fertilization until you notice new growth or the onset of another bloom cycle.
These slight tweaks shore up the orchid’s reserves and can hasten the advent of succeeding flowers, as your care helps preserve their enchanting beauty season after season.
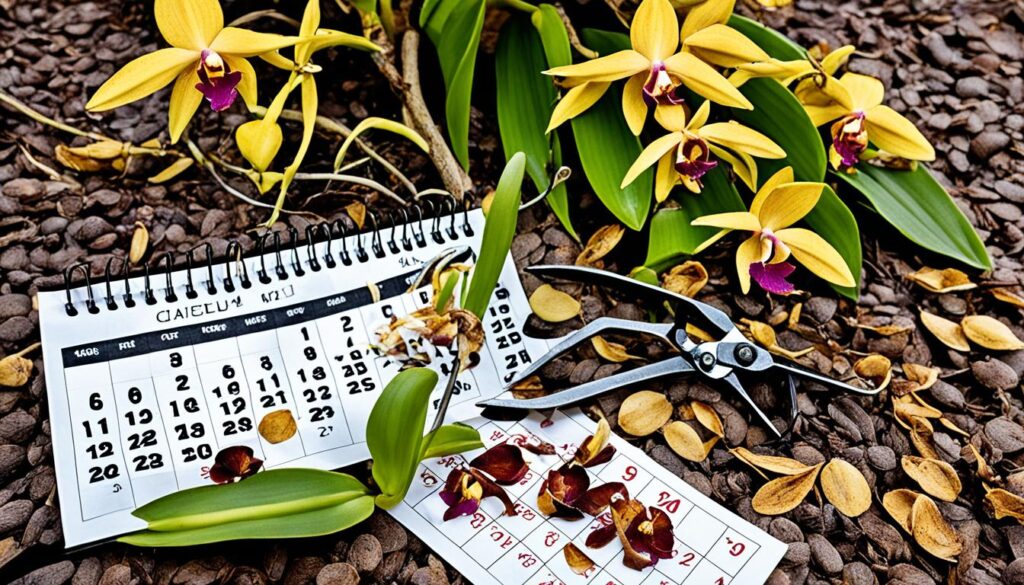
Maintaining orchids demands attentiveness and patience, but the rewards are a gratifying blend of vibrant leaves and the promise of future blooms.
By mastering this post-flower care period, you ensure that your orchids continue to thrive and enchant with their ethereal petals for years to come.
Orchid Maintenance During Vacations
As an orchid enthusiast, I understand the concern many plant owners have when it comes to keeping their beloved flowers healthy while traveling.
Orchid care while away from home does not have to be a source of stress. With the correct preparation, you can ensure your orchid maintains the necessary humidity and care in your absence.
Here are a few strategies I employ:
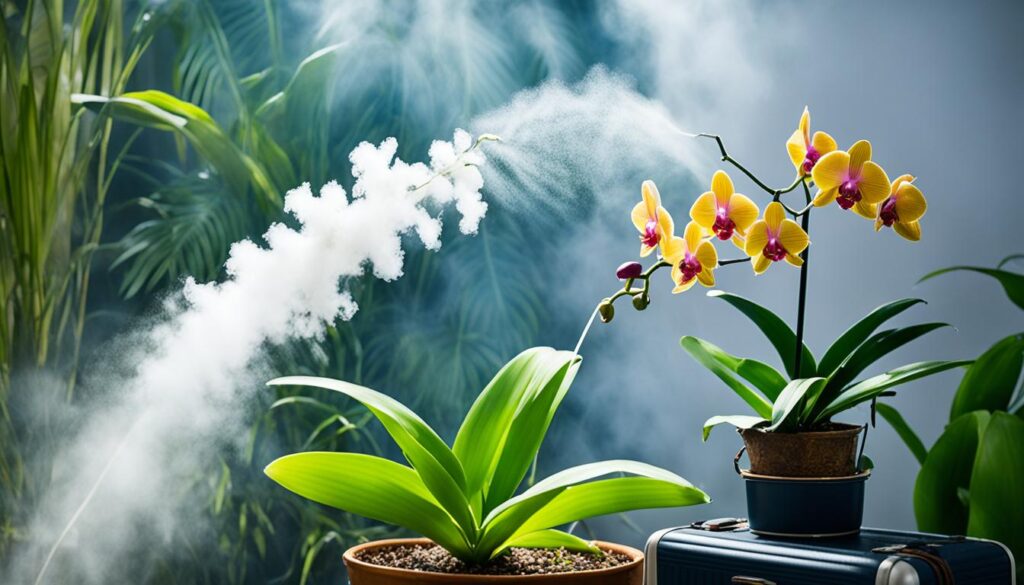
Preparing Your Orchid for Your Absence
Before leaving on vacation, there are several steps you can take to safeguard the health and vitality of your orchids. These include:
- Thoroughly watering your plants before departure to maximize moisture retention.
- Setting up a humidity tray filled with water and pebbles beneath the orchid containers to keep the moisture consistent.
- Placing the orchids in a shaded area where they will receive indirect sunlight, minimizing the risk of dehydration or overheating.
In addition to these measures, I find it advantageous to arrange for someone trusted to check in on the plants if the vacation extends beyond a week.
This person can perform essential tasks such as:
- Assessing soil moisture levels, and adding water if necessary.
- Make any needed adjustments to the orchids’ location to ensure they receive the proper light and air circulation.
- Monitoring the overall health of the orchid, including checking for any sign of pests or stress.
By taking these precautions, I enjoy peace of mind knowing my orchids will continue to thrive, greeting me with their exotic beauty upon my return.
Remember, with a bit of foresight, maintaining orchid humidity and care is entirely manageable, even from afar.
Expert Repotting Techniques
Orchids are exquisite plants that require sophisticated care, and one crucial aspect of maintaining orchid health is the timely repotting of these delicate beauties.
Understanding when and how to repot is essential to ensure your orchid thrives.
Let’s delve into the signs that indicate it’s time to repot and follow a step-by-step guide to master this process.
Signs It’s Time to Repot
If you notice that your orchid’s roots have begun to outgrow their container or the planting mix has degraded, it could signal that your orchid requires repotting.
Typically, repotting orchids should occur every two to three years to ensure ongoing health and vigor.
Here are some unmistakable signs that your orchid is ready for a refresh:
- Roots are overcrowding the pot and growing through drainage holes.
- The planting mix has broken down and is no longer providing adequate support or drainage.
- The orchid is becoming top-heavy and tipping over.
- Roots appear brown and mushy, which may indicate rot due to poor soil conditions.
- New growth seems stunted or is visibly struggling.
Step-by-Step Repotting Guide
Embarking on the journey of repotting your orchid can seem daunting, but with the right guidance, you’ll find it a rewarding endeavor.
Follow these steps to ensure your orchid gets the fresh start it needs:
- Gather all necessary materials such as a new pot, orchid potting mix, and sterilized cutting tools.
- Carefully remove the orchid from its current pot, taking care not to damage the roots.
- Trim away any dead or rotting roots using a sterile cutting tool.
- Select a new pot that is just slightly larger than the current one—orchids prefer snug spaces.
- Place the orchid in the new pot and fill in around it with fresh orchid potting mix.
- Water the newly potted orchid thoroughly and place it in a location where it can receive bright, indirect light.
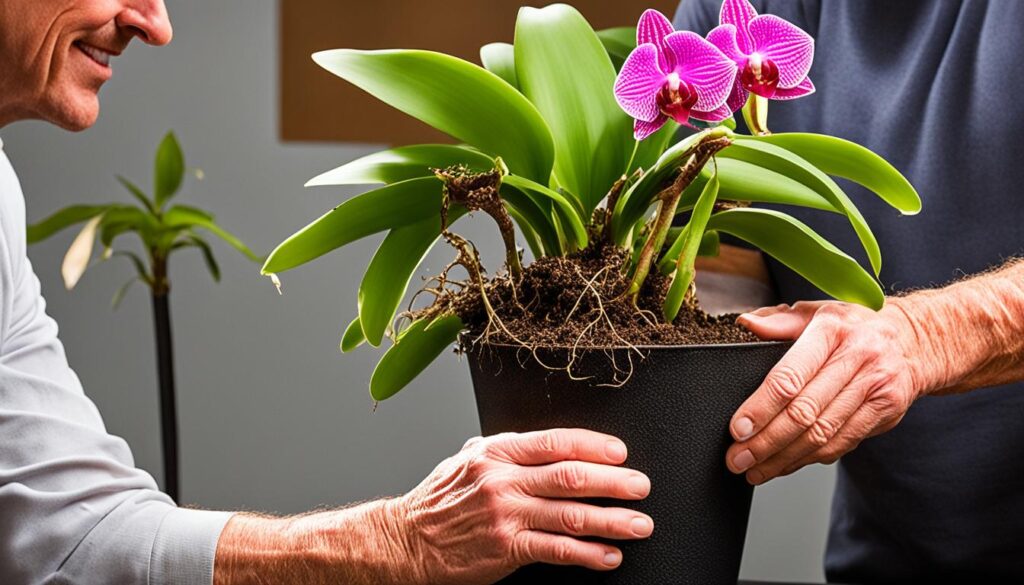
Aiding orchids through the repotting process will rejuvenate them and encourage bountiful growth.
Remember, this care extends beyond just aesthetics, it’s a vital step in your ongoing orchid repotting guide to secure the prosperity of these enchanting plants.
Orchid Care Myths and Best Practices
As someone who’s nurtured orchids for years, I’ve come across various orchid care myths that can be quite misleading for beginners.
One of the most pervasive myths is the ice cube watering method often touted as a simple orchid care tip.
However, understanding the best practices for orchid care involves going beyond these myths to grasp the reality of keeping these elegant plants healthy and flourishing.
Debunking the “Ice Cube Method”
The ice cube method suggests that placing ice cubes on the orchid’s growing medium is an adequate way to water the plant.
It’s a concept that’s caught on due to its simplicity, but this method can be more harmful than helpful. Here’s why:
- Ice cubes can shock the roots of tropical orchids with a sudden drop in temperature.
- Orchids require water that mimics the gentle rain of their natural environment, not the slow melt of ice.
- The amount of water from melting ice cubes may not be sufficient for the orchid’s needs.
Instead, warm water and thorough watering that allows excess to drain are the cornerstones of proper orchid hydration.
The Truth About Orchid Care Simplicity
Despite what the myths may claim, simple orchid care tips do exist and make the art of orchid maintenance quite accessible:
- Consistent watering: Once a week is often enough, ensuring the medium is moist but not waterlogged.
- Proper lighting: Bright, indirect sunlight encourages healthy growth without burning delicate leaves.
- Humidity: Maintaining a humid environment that emulates a tropical climate can be achieved with a simple tray of water and pebbles placed beneath the pot.
Understanding these fundamental care tips can prevent common mistakes and promote a thriving orchid with vibrant blooms.
| Myth | Reality | Best Practice |
|---|---|---|
| Orchids are high-maintenance | Orchids require specific, but manageable care | Establish a routine that fits the orchid’s needs |
| Orchids need direct sunlight | Direct sunlight can damage orchids | Place orchids in bright, indirect light |
| Use specialized orchid food only | A balanced fertilizer is often adequate | Feed with a balanced fertilizer during active growth |
Essential Orchid Care Tips From Horticulturists
Gleaning from the wisdom of experienced horticulturists, profound insights emerge not only into promoting orchid health but also into nurturing these plants so they may reach their full splendor.
Below, I dissect cardinal care techniques that underscore the essence of successful orchid cultivation.
Checking Roots: A Weekly Ritual
One of the keystones of orchid root care is the regular examination of your orchid’s roots.
This weekly practice is akin to a health checkup, confirming whether your plant is absorbing the necessary nutrients and has adequate hydration to thrive.
Look for robust, green roots as an indicator of good health.
The Science of Watering Orchids Correctly
Watering is less about frequency and more about precision. Employ the soak-and-drain method to quench your orchids’ thirst.
This ensures that roots become moistened without soaking them persistently, which can lead to root rot, a common pitfall in orchid care.
Lighting Needs for Optimal Growth
Illumination is vital, yet it’s the quality, not quantity, that matters. Orchids bask in orchid light requirements that include bright but indirect lighting.
Finding that sweet spot in your home where light is consistent but gentle can propel an orchid to its opulent best.
Nutritional Needs: Beyond the Basics
Nutrition is not just a luxury but a necessity. The right fertilizer can be transformative, helping orchids to bloom and maintain vigorous health.
Find a balance in the type of nutrients and the schedule of feeding to meet the requirements specific to your orchid species.
The Role of Pruning in Orchid Health
Maintaining an orchid’s shape and directing its future growth is the art behind pruning orchids.
Prune wisely to remove dead or unhealthy tissue, and you’ll encourage your orchid to invest its energy in fresh, floral aspirations.
Preventing and Managing Pests
Vigilance in preventing orchid diseases and pests is non-negotiable. Monitor your plants closely for any signs of distress and be proactive with organic solutions to thwart invaders before they become a peril.
Ensuring Adequate Airflow
Airflow should never be an afterthought, it’s a critical element in mimicking an orchid’s natural environment.
A gentle, circulating breeze supports overall health, staving off pathogens and enhancing the orchid’s respiratory process.
The Virtue of Patience in Orchid Care
In the realm of orchid care, patience is more than a virtue—it’s a vital component.
Understand that orchids move to their own rhythm, and their periods of dormancy are as natural as their phases of growth.
Respect this cycle, and your patience will be rewarded with eventual vitality and bloom.
Orchid Care Essentials
As an orchid enthusiast, I appreciate the nuanced care these exquisite plants require. Crafting the ideal environment for them is a balance of smart practices and adaptation.
In this section, we’ll delve into the essentials of orchid care, addressing the right kind of light, watering techniques, temperature control, the maintenance of spent blooms, plus the significance of proper feeding and choosing the right growing medium over traditional potting soil.
For a vibrant and healthy orchid, each factor plays an integral role in the overall care routine.
Selecting the Right Kind of Light
Orchids, like the famed Phalaenopsis, thrive in bright but indirect sunlight. It’s about finding that sweet spot where the light is just intense enough without scorching their delicate leaves.
East- or west-facing windowsills are typically idyllic locations for them within my home, ensuring they bask in the morning or afternoon light without suffering from the harsh midday sun.
Watering Best Practices
When it comes to proper orchid watering, it’s not just about the frequency, but it’s about the quality and method too.
I use lukewarm water to mimic the gentle warmth of their natural rainforest habitat, watering them once a week with an emphasis on soaking the roots thoroughly and allowing for proper drainage.
This not only hydrates the orchid but also avoids stagnation and the potential rot that can jeopardize the plant’s health.
The Ideal Temperature for Orchid Health
Maintaining the ideal orchid temperature is akin to striking a perfect harmony that resonates with their tropical geneses.
I aim to keep them in conditions similar to what you’d find pleasant indoors, which coincidentally is between 60°F and 80°F.
Orchids can be sensitive, so I’m always careful to shield them from sudden temperature fluctuations that could stress the plant or lead to the dreaded bud drop.
Dead Bloom Maintenance
After the orchid has showcased its stunning blooms, attention to the dead ones is key.
I either cut them back to encourage energy conservation or allow the stalk to remain, knowing it might take time for new flowers to emerge.
This decision impacts the orchid’s energy distribution and future blooming potential, and it’s one I make with the plant’s best interest at the forefront.
Orchid Nutrition: Feeding Your Plant
Feeding my orchids with the right orchid feeding schedule is like ensuring they have a balanced diet.
I use fertilizers formulated specifically for orchids, offering them the essential nutrients they’d otherwise get from their native environment.
Regular, yet not excessive, feeding during their growth periods keeps them robust and prepared for their next blooming cycle.
Why Soil Is Not Suitable for Orchids
A common misconception is that orchids fare well in regular potting soil, yet this couldn’t be further from the truth.
Their roots need air and a specific balance of moisture that regular soil cannot provide.
That’s why I opt to use specialized orchid potting media, which mimics the natural aerial growing conditions of orchids, ensuring ample drainage and aeration, vital to their survival and prosperity.

Leave a Reply