Did you know that over 70% of orchids potentially suffer from improper repotting?
Such a staggering number serves as a wake-up call to orchid enthusiasts and highlights the crucial role that choosing the right orchid pot plays in the longevity and flourishing of these exotic plants.
In this orchid repotting guide, I’ll take you through everything you need to know about selecting orchid pots for your treasured blooms – downsizing common misconceptions and empowering your orchid care with proven insights.
Success with these enigmatic flowers begins below the surface; orchid pot size guide wisdom lies in valuing the unseen root volume over the height of their aerial beauty.
Whether you’re a seasoned grower or a budding enthusiast, understanding the nuances of picking the perfect pot is imperative.
So let’s embark on this journey of orchid mastery together, exploring why size really does matter when choosing orchid pots.
Key Takeaways
- Over 70% of orchids are affected by poor repotting practices, influencing their health and bloom.
- Correct orchid pot size is determined by root volume for successful growth, not just plant aesthetics.
- Orchids prefer snug pots which aid in effective re-blooming and root health.
- Choosing an overly large pot can lead to excessive moisture and hinder orchid growth.
- Regular inspection of your orchid’s roots and the potting medium can indicate repotting needs.
- A seamless orchid repotting guide ensures a thriving plant with vibrant blooms.
Understanding the Importance of Orchid Pot Size
When it comes to nurturing orchids, selecting the right pot size is essential for ensuring not only orchid health but also the plant’s flowering potential.
The pivotal role of pot size in nurturing these beautiful plants cannot be overstated, as it directly impacts root growth and, consequently, the overall well-being of the orchid.
Why Pot Size Matters for Orchid Health
Orchids are not your typical houseplants; they have unique root systems that require precise conditions to thrive.
A pot too small constrains the roots, limiting access to nutrients and water. On the flip side, a pot too large holds excess moisture, potentially leading to root rot and poor aeration.
Finding the right pot size is like picking a bespoke suit, it should fit just right to enable robust root growth and bountiful blooms.
The Consequences of Choosing the Wrong Pot Size
Imagine an orchid’s roots, the lifeline that absorbs necessary hydration and nutrients, struggling in an inadequate home. A mismatched pot size does more than hinder growth; it sets off a domino effect that can compromise an orchid’s longevity.
Let’s consider the predicament: a small pot restricts roots, while a large pot invites moisture-related ailments. It is a balance that demands attention for the orchid to prosper.
The Connection Between Pot Size and Repotting Frequency
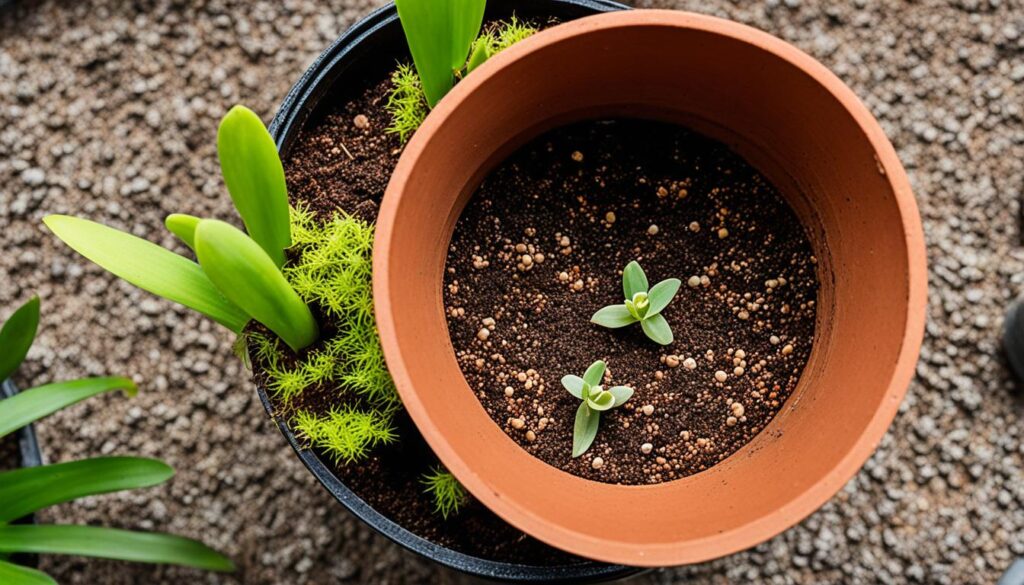
The dance between repotting frequency and pot size is one of grace and deliberation. A perfectly sized pot allows an orchid to sit comfortably for years, but when the potting medium degrades or the roots overtake their space, you’ll know it’s time for a change.
With each repot, the choice of pot size dictates the trajectory of the orchid’s future, ensuring that its delicate roots are poised for success.
| Pot Size | Root Growth | Repotting Frequency | Orchid Health Indicators |
|---|---|---|---|
| Just Right | Optimal space for growth | Every 2-3 years | Healthy roots, strong blooms |
| Too Large | Potentially stagnant | Variable, risks overwatering | Risk of root rot, poor blooms |
| Too Small | Restricted, may circle pot | More frequent repotting | Stunted growth, reduced vitality |
Signs It’s Time to Repot Your Orchid
As I tend to my own orchids in the serenity of the greenhouse, I’ve become quite attuned to their silent language and specific needs, particularly when they communicate the necessity for repotting.
The repotting signs of these exquisite plants are as conspicuous as the blooms they bear; often, eagle-eyed gardeners can spot the need for intervention well before the plants endure stress.

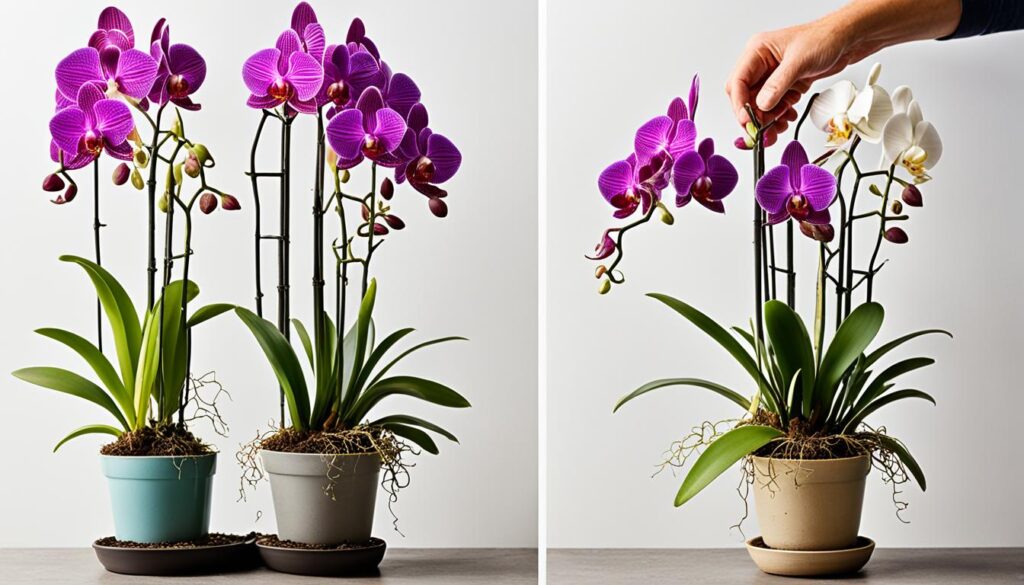
Orchid root growth is indeed a marvel of nature, and when observing these new white tendrils pushing boldly toward the pot’s edge, it undoubtedly indicates a need for more space.
Similarly, the telltale signs of potting medium decomposition, the substrate disintegrating into a substance akin to spent coffee grounds, can no longer be ignored.
When the medium breaks down, it can no longer provide the drainage and aeration that orchids critically require.
The longevity of the potting medium is also compromised by the inevitable salt accumulation from fertilizers used over time.
Ushering your plant into a fresh pot with a new medium helps to reset its nutritional environment and stimulates prolonged health.
| Repotting Sign | Description | Action Required |
|---|---|---|
| New Root Growth | Visible tender green or white roots appear, reaching for space. | Time to repot to a larger size to accommodate root expansion. |
| Medium Degradation | Substrate breaks down, resembling overly wet coffee grounds. | Replace aging medium to restore proper aeration and drainage. |
| Excessive Salt | White residue on medium’s surface due to fertilizer buildup. | Repot with fresh medium to cut salt concentration. |
| Overflowing Roots | Roots are spilling over the pot’s rim or through drainage holes. | Repot into a suitably sized vessel to provide adequate space. |
Springtime, particularly post-flowering, offers a window of opportunity when rejuvenated growth commences, signaling an ideal moment for repotting orchids.
Should you see roots crowding or spilling out of the existing pot, there is no clearer indicator that your plant is ready to thrive in a new home.
By acting on these observable cues and providing your orchids with the attention they need precisely when they need it, you encourage robust growth and flowering.
After all, our role as cultivators of these tropical beauties is to foster a symbiotic relationship where our keen awareness meets their silent yet pressing horticultural appeals.
Choosing the Right Pot Material
As someone deeply engrossed in the nurturing of orchids, I understand that the choice of pot material is more than an aesthetic preference; it’s a critical factor in the health and vitality of these exquisite plants.
Through years of experience and countless trials, I’ve discerned that different materials distinctly influence the moisture and oxygen levels, which are vital for the thriving of orchid roots.
Benefits of Terra-Cotta and Porous Materials
When I’m considering pots for dry or arid conditions, my go-to is invariably terra-cotta orchid pots.
Their inherent porosity aids in air circulation and ensures that the potting mix dries more uniformly and rapidly than in synthetic materials.
This feature is especially beneficial for species such as Cattleyas and Dendrobiums, which prefer drier conditions for their roots between watering sessions.
Comparing Plastic to Natural Materials
I often weigh the pros and cons of plastic vs. natural orchid pots when tending to species that thrive in more humid environments.
Plastic pots, with their non-porous nature, retain moisture for extended periods, making them a suitable choice for Phalaenopsis orchids, commonly known to favor steady moisture levels.
The variety of shapes and colors available also allows for optimal customization of my greenhouse’s aesthetic.
When to Opt for Clear Plastic Pots
If there’s one thing I’ve continually observed, it’s the unique advantage that clear plastic orchid pots offer.
Their transparency isn’t just visually engaging, it’s functional. The clear walls permit sunlight to reach the roots, replicating the natural growing conditions these plants would experience perched upon tree branches in the wild.
Additionally, the ease of monitoring root health and soil dampness without disturbing the plant is a convenience that significantly helps in preventing overwatering, a common mishap among orchid cultivators.

Here’s a comparative glance at the different materials:
| Material | Moisture Retention | Air Flow | Weight | Best Used For |
|---|---|---|---|---|
| Terra-Cotta | Low | High | Heavy | Dry-loving Orchids (e.g. Cattleyas) |
| Plastic | High | Low | Lightweight | Moisture-loving Orchids (e.g. Phalaenopsis) |
| Clear Plastic | Variable | Medium | Light to Medium | Orchids Needing Root and Moisture Monitoring |
In my journey with orchids, I’ve learned that understanding these material nuances allows for better decisions tailored to each species’ requirements.
It’s a beautiful balance, aligning the right pot material with an orchid’s natural inclinations can make all the difference in nurturing it towards a stunning bloom.
Prepping for Repotting: Essential Tools and Tips
As I gear up for the critical task of orchid repotting, meticulous preparation must precede the actual process to ensure a successful transition into a new home.
It’s not just about the right spot or the right moment; it’s about assembling the right set of repotting tools and employing thorough sterilization for repotting to mitigate any risk of orchid disease prevention.
Gathering Your Supplies
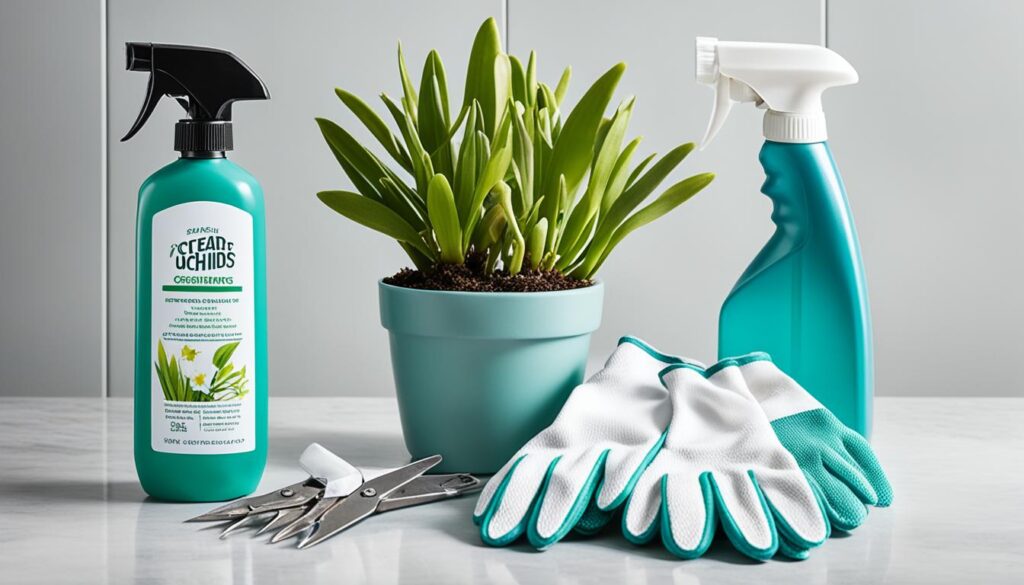
The initial step in orchid repotting preparation is compiling a comprehensive toolkit. A checklist I always rely on includes:
- Sterilized pruning shears for precise cuts
- Snug-fitting gloves to protect both my hands and the sensitive plant tissues
- An appropriately sized pot to accommodate the orchid’s current and projected growth
- Fresh potting media to provide a nurturing environment for the roots
- A chopstick, which is a simple but effective tool for positioning the roots, and a rhizome clip for securing the plant
Each item serves a distinct purpose, thus, ensuring I have all these on hand before commencing the task is a non-negotiable step.
Cleaning and Sterilization Techniques to Prevent Disease
Maintaining cleanliness and preventing disease transmission during repotting cannot be overstressed. Here are the methods that I’ve found to be most efficient:
- Cleaning all repotting tools with a bleach solution before use
- Using fresh potting mix to avoid reintroducing pathogens
- Washing and sterilizing the new pot, whether by soaking in a disinfectant solution or heat-treating if it’s a clay pot
These precautions have proven effective over the years in keeping my treasured orchids healthy and flourishing after repotting.

Incorporating these essential practices in orchid repotting preparation is akin to laying a strong foundation for a house.
With clean and sterilized repotting tools, the risks of introducing or spreading pathogens are significantly minimized, allowing my orchids to focus on adapting to their new environment without the stress of battling potential diseases.
Orchid Pot Size: Finding the Perfect Match
As I delve into the world of orchids, I’ve come to appreciate that the journey to the perfect orchid pot starts with a thorough root volume assessment.
Spotting the right home for my green charges is less about how tall they stand, and more about the intricate network of roots that lie beneath.
Guided by the principle that a pot’s purpose is to contain and not constrain, I’ve learned to select a container that hugs the roots closely, without cramping their style.
It’s this cozy fit that encourages an orchid to muster the energy to bloom splendidly.

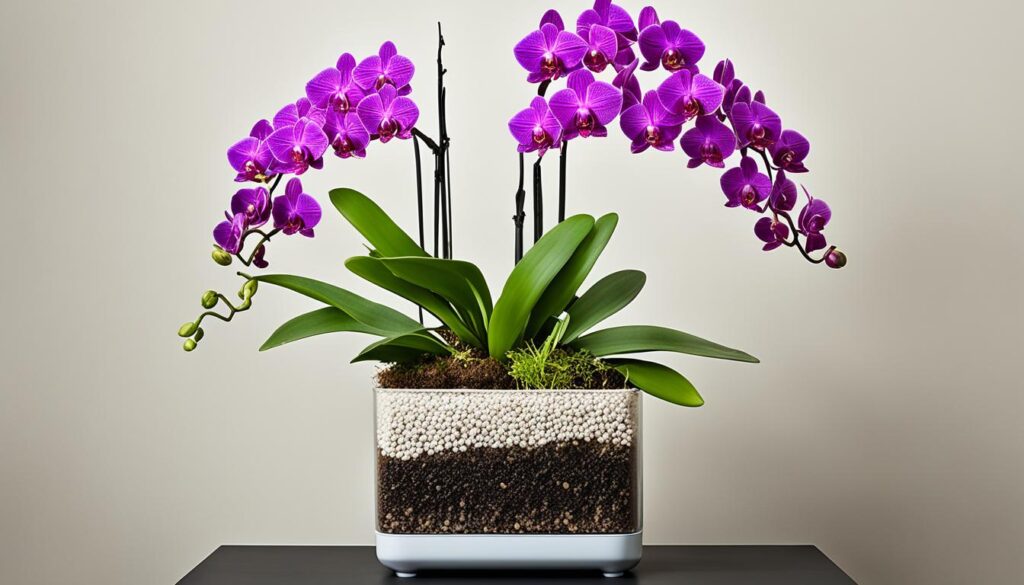
The science of orchid potting media selection is equally fascinating. It’s not just about filling a pot with soil; it’s about sculpting a micro-ecosystem that matches my unique horticultural setup.
To create a bespoke blend, I might mix in Monterey pine bark for its excellent drainage, sprinkle in some horticulture charcoal to sweeten the pot, or lay down a bit of wool rock to uphold the right degree of moisture.
This personalized potting media selection isn’t just a caprice; it’s a calculated step towards uplifting my orchid’s vitality and bloom capacity.
- I ensure the pot is an inch or two larger than the current root ball, which seems to be the sweet spot for growth.
- Finding the balance between too wet and too dry in the potting media keeps the roots happy — not suffocated, not parched.
- The addition of moisture moderators like perlite has been a game-changer for keeping water levels optimal.
Ultimately, when my orchid’s roots find solace in their well-appointed pot, brimming with just the right mix and space, I can almost hear a grateful whisper among the foliage.
It’s then that I know I’ve not just found any pot, but the perfect orchid pot, where my botanical companions can thrive and flourish abundantly.
Conclusion
Embarking on the journey of nurturing orchids, I’ve come to realize that the secret to healthy orchid growth involves more than just watering and placement. It’s about understanding the needs of these exquisite plants down to their very roots. Orchid repotting is not just a routine task, it’s a ritual that underscores my commitment to their welfare. Every choice, from the pot size to the timing of repotting, contributes to thriving orchids that are as robust as they are beautiful.
My experience has taught me that successful repotting hinges on the alignment of several factors: monitoring the root system for signs of readiness, choosing the right pot that satisfactorily balances moisture and airflow, and ensuring that neither excess space nor constriction thwarts the orchid’s innate growth patterns. This delicate balance is pivotal in nurturing not just growth but flowering as well, taking us one step closer to the orchid’s full potential.
Whether you’re a seasoned orchid grower or new to the pursuit, remember that the splendor of these magnificent plants relies heavily on how well their roots are set to flourish. Just as roots are the foundation of the plant, so is proper potting the foundation for gardening success. By minding the details and catering to the unique needs of your orchids, you can certainly expect to enjoy the lush, vibrant blooms that are the true reward of diligent orchid care.
FAQ
How do I determine the perfect orchid pot size?
The ideal pot size for your orchid is usually an inch or two larger than the current volume of the orchid’s root mass. It’s essential to focus on root volume rather than the height of the foliage when selecting a pot.
Why is pot size critical for my orchid’s health?
The right pot size is crucial because it ensures proper moisture retention and air circulation around the orchid’s roots. Too large of a pot can lead to root rot due to excessive moisture, while a pot that is too small can constrain root development and overall plant health.
What are the signs that my orchid needs repotting?
Signs that indicate your orchid requires repotting include new roots or a rhizome spilling over the pot edge, the potting medium decomposing or resembling coffee grounds, and salt buildup from fertilizers. It’s often best to repot in the spring following the blooming cycle.
What are the benefits of using terra-cotta pots for orchids?
Terra-cotta pots are porous, which allows for increased air flow and helps the soil to dry out more quickly, thus preventing overwatering and root rot. This makes them ideal for orchids, especially in arid climates where humidity control is key.
Should I consider plastic pots for orchid repotting, and why?
Yes, plastic pots can be beneficial for orchids that prefer a consistently moist environment, as they retain moisture longer than terra-cotta pots. Clear plastic pots also allow you to monitor root health and soil moisture levels, and can simulate a natural habitat by letting light reach the roots.
When should I opt for clear plastic pots for my orchids?
Clear plastic pots are especially handy for epiphytic orchids, which in nature, grow with their roots exposed to light. Clear pots also allow you to visually inspect the roots for health and moistness without disturbing the plant.
What should I have on hand before beginning the orchid repotting process?
Before repotting your orchid, you should have sterilized pruning shears, snug-fitting gloves, the right size pot, fresh potting media, and cleaning supplies ready. A chopstick and a rhizome clip may also be helpful for positioning and securing the orchid in its new pot.
How can I prevent disease during the orchid repotting process?
To prevent disease, you should use sterilized tools and operate in a clean workspace. The pot, whether new or reused, should be thoroughly cleaned and disinfected beforehand to eliminate any pathogens.
What is the connection between pot size and repotting frequency?
The size of the pot can influence how often you need to repot. A correctly sized pot should accommodate an orchid for approximately one to three years before the potting media breaks down or the orchid outgrows the pot.
How do I choose the appropriate potting media when repotting my orchid?
Choosing the right potting media depends on the type of orchid and its specific root type. For example, orchids with thicker roots generally require a coarser media, while those with finer roots do well with a finer mix. Ingredients like Monterey pine bark, charcoal, or wool rock can be mixed in to adjust moisture retention and drainage.


Leave a Reply