An astounding 63% of households in the United States boast at least one pot of greenery indoors, indicating the nation’s love affair with houseplants.
Amid this verdant expanse, orchids stand out as the epitome of exotic allure, a centerpiece in the realm of indoor horticulture.
Yet, despite the prevalence of these plants in our homes, many enthusiasts face a perplexing conundrum when engaging in a critical aspect of plant care:
repotting. It’s a task that requires more than just a green thumb. With implications that might surprise you, poorly executed repotting can lead to a phenomenon known in horticultural circles as ‘transplant shock’, which can drastically affect the plant’s health.
Given my passion for gardening, I’ve observed that repotting is often surrounded by a cloud of uncertainty.
Despite good intentions, many plant owners inadvertently subject their cherished orchids and other houseplants to stress, resulting in stunted growth or even decline.
Armed with the right repotting tips, understanding orchid troubleshooting, and knowing what encompasses post-repotting care, it is possible to ensure your healthy orchids flourish in their new homes.
Key Takeaways
- Recognize the signs that indicate when your houseplants, particularly orchids, require repotting to prevent stress and encourage healthy growth.
- Understand that transplant shock is a common issue post-repotting and learn how to navigate this delicate phase of plant care.
- Appreciate the importance of choosing the correct pot size and soil type for repotting, as these factors significantly influence the plant’s recovery.
- Learn the best practices for gentle repotting, which minimizes root disturbance and supports the plant’s adaptation to its new container.
- Adopt the right post-repotting care routines, including strategic watering and pruning, to facilitate a smooth recovery and maintain vibrant, healthy orchids.
Recognizing When It’s Time to Repot
Let me elaborate on a few tell-tale indicators that it’s time to give your plants a new home for optimal healthy plant maintenance.
Root Growth
First and foremost, consider the root growth. When you notice roots peeking out from the drainage holes of the pot or forming a dense web just beneath the soil surface, it’s a signal that the pot’s confines limit your plant.
This often results in stunted growth and general plant unhappiness. On a related note, if the plant seems to be drinking up its water much quicker than usual, requiring more frequent watering, that’s another clue that the roots need more space to access moisture adequately.
- Visible roots outside the pot’s base.
- Rapidly drying soil demanding frequent watering.
- Reduced growth rate during the growing season.
Soil Condition
Another aspect to consider is the soil condition. If you notice a change in soil color, specifically a whitish crust on the surface, it’s indicative of salt accumulation from fertilizers, which can impair plant growth.
Additionally, if water seems to run through the pot too quickly, barely moistening the soil before exiting, it’s time to refresh the soil to ensure proper hydration and nutrient retention for your plant.
Understanding these signs not only promotes the well-being of your plants but also deepens your connection with the natural world.
Pot Size
Assess whether the plant has grown top-heavy, looking oversized for its pot, and if so, consider whether the pot provides adequate support to prevent tipping.
This imbalance can put undue stress on the plant and even cause physical damage if left unchecked.
Choosing the Right Pot for Your Plants
When it comes to successful container gardening, selecting the appropriate pot is a pivotal decision that impacts the health of your plants.
Whether you are indulging in the delicate art of orchid care or nurturing a variety of houseplants, understanding pot size selection, appropriate potting, and the essentials of plant root growth are key factors to maintaining thriving greenery.
Selecting the Appropriate Size
One of the first steps in preventing root rot and supporting healthy roots is to choose a pot that will accommodate your plant’s growth without suffocating it.
Proper pot size selection involves opting for a container that is about 1 to 2 inches larger in both diameter and depth than the plant’s current home.
This modestly larger space encourages plant root growth without leaving too much soil moisture that could potentially harm the roots.
Understanding the Importance of Drainage
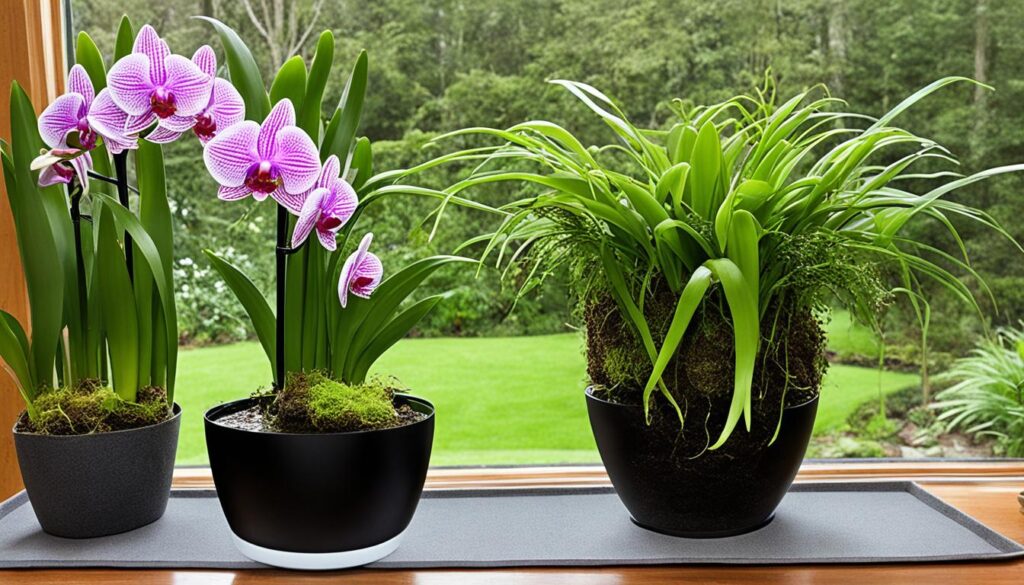
Drainage in potting is a critical aspect of cultivating healthy plants. A pot with adequate drainage holes allows for excess water to escape, safeguarding the plant’s roots from waterlogging.
To further ensure proper drainage and prevent the onset of root diseases, it is recommended to avoid placing stones at the bottom of pots, a practice that can trap water instead of draining it.
In the world of container gardening, especially with finicky plants like orchids, the risk of root rot cannot be overstated.
For those instances where your container lacks natural drainage, employing a dual-potting method is an effective strategy.
This involves placing a practical pot with drainage inside a more decorative pot, allowing you to achieve both the desirable look and the drainage your plant necessitates.
| Criteria | Importance | Tips for Success |
|---|---|---|
| Pot Size | Essential for root growth | Choose a pot 1-2 inches larger than the current size |
| Pot Material | Influences soil moisture retention | Consider porous materials like terra cotta for breathability |
| Drainage | Crucial for preventing diseases | Ensure pots have holes; avoid using stones at the bottom |
A pot that truly fits your plant’s needs is like a tailored suit, it fits just right and allows for growth, all while maintaining the elegance and form needed for health and display.
Always remember, the choices we make in pot size selection and ensuring proper drainage are the foundational steps for keeping the roots of our green companions healthy and strong.
Preparing the Best Soil for Repotting
As gardeners, the foundation for thriving plants starts with our potting soil selection. The unique soil requirements for different plant species are like a fascinating puzzle we get to solve.
It’s a crucial decision where the wrong type can be detrimental to our plants’ health, like placing a cactus in a swamp or a fern in the desert.
So, let’s dive into the art and science of selecting the perfect soil that will lead your plants to prosper.
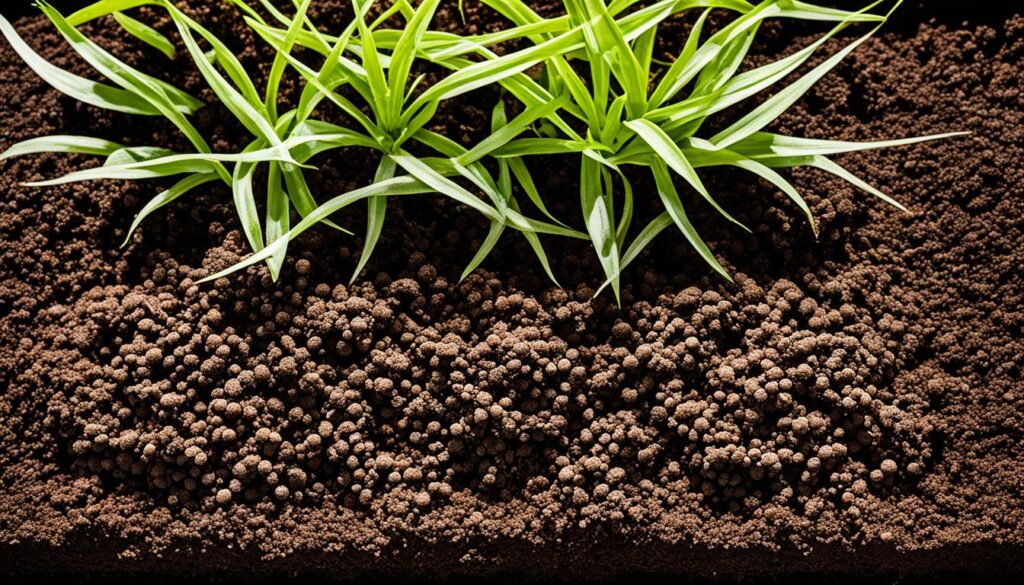
When it comes to drainage material, there’s a balance to strike. We want to prevent water-logging, but we also aim to keep roots hydrated.
Therefore, mixing drainage materials like pebbles, Perlite, and vermiculite can create an ideal environment for most plant species.
- Pearlite enhances aeration and drainage, essential for root health.
- Vermiculite retains moisture and nutrients, serving them up to the plant as needed.
- Sand can be added for succulents and cacti that crave dry conditions.
Every repotting adventure should start with soil that caters to your green companions.
Let’s make a habit of checking the bag’s label and ensure it’s tailored to the specific needs of the flora we’re nurturing.
Remember, using the correct soil mixture is like crafting a bespoke suit, it should fit the individual needs of each plant impeccably.
| Plant Type | Soil Texture Preference | Suggested Drainage Material | Specific Soil Mix Components |
|---|---|---|---|
| Rubber Trees | Coarse | Perlite, Lava Rock | Bark-based mix, Perlite |
| African Violets | Fine | Vermiculite | Peat moss, Perlite, Vermiculite |
| Succulents | Coarse | Pumice, Sand | Succulent mix, Pumice, Coir |
| Ferns | Fine | Vermiculite | Peat moss, Perlite, Humus |
Embrace the diversity of soils and treat each potting as an opportunity to give your plants the best possible start, or continuation, of their life. Let’s gear up with knowledge, choose wisely, and watch as our green wonders thrive.
Executing a Smooth Repotting Process
As I embark on this journey of repotting, it’s imperative to acknowledge that the heart of the process lies in the delicate balance of upholding the integrity of the plant while introducing it to a new environment.
This is more than just a transplant; it’s an opportunity to reinvigorate and provide fresh foundations for continued growth.
Minimizing Disturbance to the Rootball
In practicing gentle repotting, my focus is on preserving the rootball’s structure.
This is crucial, for it houses the essential systems for nutrient uptake and supports the plant’s stability. As I proceed, I take care to keep the rootball moist.
This is one of the transplanting best practices that prevents the roots from becoming shocked by the change and minimizes root stress.
I’m aware that each action I take – unwrapping the plant, lifting it, placing it in the new pot – all play into the greater goal of rootball care.
Teasing the Roots for a Healthier Plant
Encouraging root growth through the orchid repotting technique involves delicately handling the tendrils of life beneath the soil.
With the rootball secure in its new home, I begin teasing the roots, a methodical approach that gently separates them, encouraging them to stretch into their new space.
Where roots have grown coiled, I prune with a precise hand. This intervention creates fissures through which new roots can thrive, embodying the repotting best practices that champion strong, healthy development.
Correctly positioning the plant within its new container and topping it with a well-suited potting mix, I’m careful not to compress the soil overly.
Rather, it’s about achieving balance – firm enough to support, yet loose enough to breathe.
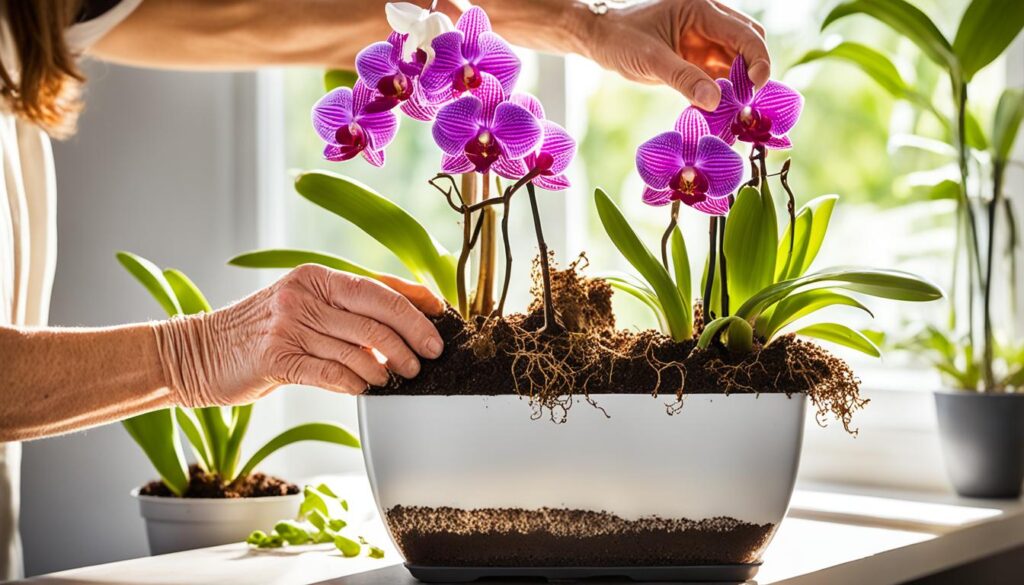
To articulate the importance of this method, a comparison table can illustrate the outcomes of careful versus hasty repotting:
| Action | Gentle Repotting | Hasty Repotting |
|---|---|---|
| Rootball Moistening | Consistent moisture maintained | Potential drying and stress to roots |
| Root Teasing | Promotes healthy, immediate growth | Roots may remain constricted |
| Soil Compacting | Gently topped for optimum aeration | Over-compaction restricts root expansion |
| Overall Outcome | Encourages robust root system, minimal transplant shock | Increased risk of transplant shock, inhibited growth |
By adhering to these practices, I’m enthusiastic that the newly potted plant will reach its full potential, with firm roots anchoring it and fresh shoots reaching toward the sun.
It’s this attention to detail and a patient, nurturing hand that validates the repotting process as one of renewal and robust growth.
Troubleshooting Orchids: Post-Repotting Recovery
After the intricate process of repotting, your orchids may display signs of distress, commonly known as transplant shock.
This state can manifest through drooping leaves or stalled growth, but fear not, as this phase is often temporary if the correct measures for orchid recovery are implemented.
The key objectives include maintaining moist roots without waterlogging and tenderly caring for the rootball to minimize any possible damage.
Precision in watering after repotting is crucial; the soil should feel damp to the touch, but not soggy, to avoid the perils of overwatering.
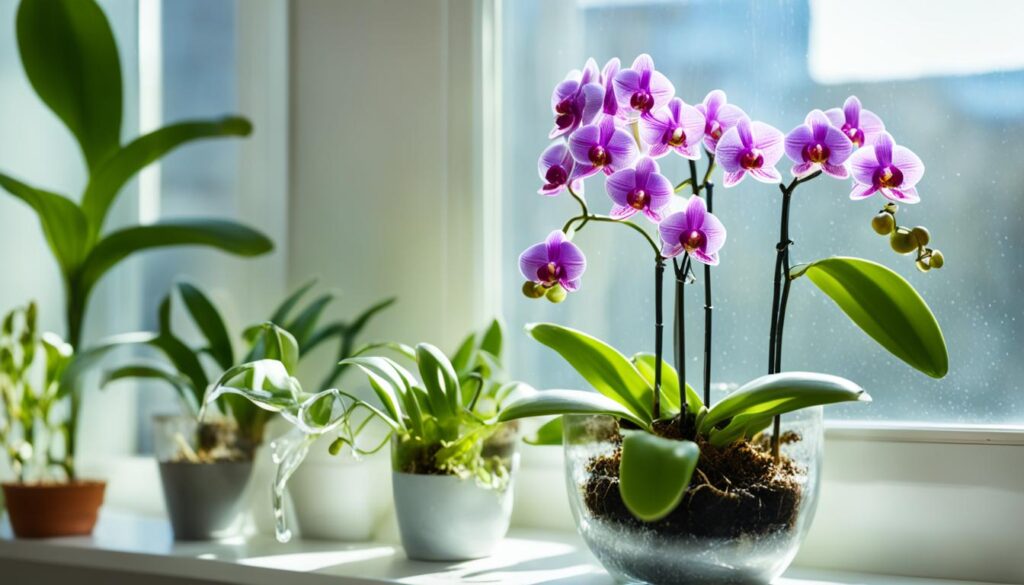
In furtherance of promoting a swift recovery, consider the following strategic steps for effective post-repotting care and avoiding transplant shock:
- Regularly check the moisture level of the soil—too dry, and the roots can’t recover; too wet, and you risk root rot. Aim for a happy medium.
- Gently prune any excessively long or damaged roots before repotting to encourage regrowth. Remember, less is often more in this delicate situation.
- Mitigate the shock by maintaining a stable and appropriate environment for the orchid, free from extremes of temperature or draft.
Consult the following table for a week-by-week basic care guide post-repotting:
| Week | Care Activity | Purpose |
|---|---|---|
| 1 | Light Watering | Provide sufficient moisture without overwhelming roots |
| 2-3 | Mist Leaves | Keep humidity optimal while roots establish |
| 4 | Observe Growth | Monitor for signs of recovery and new growth |
| 5-6 | Resume Fertilizing | Nourish plant to support recovery |
While some may recommend a mild sugar and water solution to accelerate recovery, the scientific consensus on its efficacy remains inconclusive.
Nonetheless, ensuring that your orchid has good drainage can work wonders, along with patience, as nature takes its course.
If you’ve adhered to these principles, you can expect your orchid to bounce back with vitality and grace.
Conclusion
As we wrap up our discussion on repotting orchids, I’m reminded of the importance of vigilance in the days and weeks following this crucial process.
It’s worth reiterating that post-repotting observation is not just a recommended practice but a fundamental pillar of tailored plant care.
By keeping a watchful eye on indicators such as soil moisture and plant behavior, I can make informed decisions, tweak care routines for healthy plant growth.
Monitoring Plants and Adjusting Care Post-Repotting
My routine after repotting always involves checking the orchid’s environment meticulously. This meticulousness in recovery phase management involves assessing the dampness of the soil, making sure it’s neither too dry nor overwatered, and evaluating the orchid’s response to its new home.
Should I notice any signs of stress or discomfort, I’m prepared to make immediate adjustments, ensuring the plant’s health isn’t compromised. Each orchid, with its unique needs, may require a specific approach to thrive post-repotting.
It’s this level of personalized attention that often makes the difference between a surviving and a flourishing orchid.
Embracing Patience During the Recovery Phase
In my experience, one of the most challenging aspects of post-repotting care is practicing patience in plant care.
It’s natural to seek immediate results, after all, we live in a world where instant gratification is often the norm. However, nurturing orchid growth is a testament to the virtues of patience.
Some orchids bounce back swiftly, while others take their time to acclimate. I’ve learned that this recuperation period isn’t just about waiting; it’s about maintaining a consistent care regimen that fortifies my plant against potential stressors.
It’s a rewarding journey that, when navigated with dedication and understanding, leads to the enduring vigor of these exotic beauties.
FAQ
What are common issues I might encounter after repotting my orchids?
After repotting, you might see signs of transplant shock, such as wilting or yellowing leaves. It’s also possible for water to drain either too quickly or too slowly if the soil or pot isn’t suitable, affecting the health of the roots.
How do I recognize when it is time to repot my houseplant?
Signs for repotting include roots coming out of the pot’s drainage holes, a quick drying of the soil, slow or no growth during the active growing season, and soil discoloration, which may indicate a buildup of harmful salts.
What should I consider when selecting a pot size for repotting?
Choose a pot that is 1 to 2 inches larger in diameter and depth than the current one. This ensures enough room for root growth while preventing issues like waterlogging that can lead to root rot.
Why is drainage so important in the pots I use for repotting?
Proper drainage is essential for preventing water accumulation around the roots, which can cause fungal diseases and root rot. Always use pots with adequate drainage holes and avoid placing materials like rocks or shards at the bottom, which can impede water flow.
How do I select the best potting soil for repotting my orchid?
Choose the potting soil based on the specific needs of your plant species. For orchids, you often need a well-draining mix, typically containing bark or moss, to replicate their natural growing conditions and promote healthy roots.
What are the best practices for minimizing rootball disturbance during repotting?
Be as gentle as possible when handling the rootball to minimize stress and damage to the roots. It’s also important to keep the rootball moist throughout the repotting process.
How can I tease the roots for better growth post-repotting?
Teasing out the roots involves gently loosening and untangling them and, if necessary, trimming any long or circled roots to encourage growth outward into the fresh potting mix.
What can I do to help my orchid recover from the stress of repotting?
To help your orchid recover, ensure that the soil remains moist (not waterlogged) and that the plant is in an environment with appropriate light and temperature. Be gentle in handling, and give the orchid time to adapt to its new pot.
How should I monitor my plants and adjust care after repotting?
Post-repotting care involves observing the plant for signs of distress, ensuring that the soil maintains the right moisture level, and adjusting watering and fertilization to meet the plant’s new needs as it adapts to its repotted state.
How long should I wait for my orchid to recover after repotting, and what should I expect?
The recovery time can vary widely depending on the orchid species and individual plant health. Expect anywhere from a few days to several weeks. During this time, it’s crucial to be patient and to continue providing consistent care tailored to the orchid’s requirements.

Leave a Reply